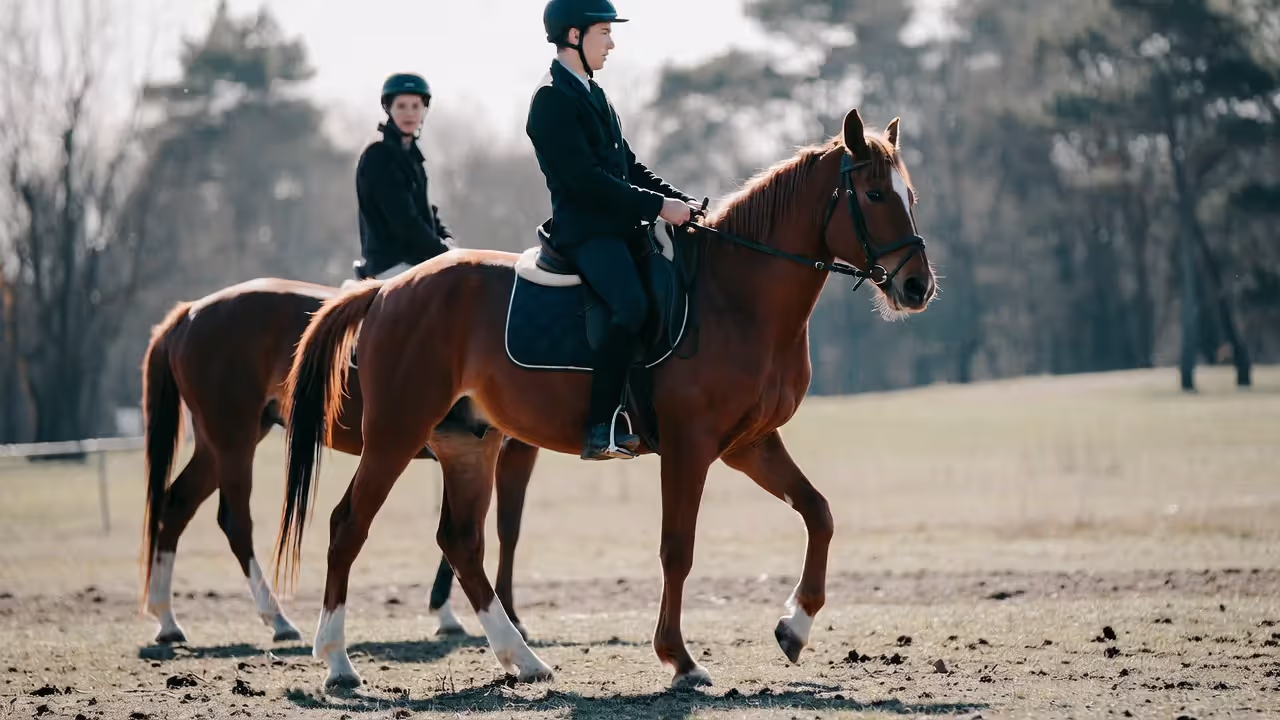
Getting your body into the right position on horseback isn't about looking pretty in the arena. It's about creating a partnership where your horse can move freely, respond to subtle cues, and carry you safely whether you're navigating a trail or competing in the show ring.
Many riders spend years fighting against their own bodies, gripping with their knees, collapsing at the waist, or perching on the saddle like they're ready to jump off at any moment. These habits don't just make riding harder—they actively interfere with your horse's ability to do his job.
Why Your Riding Position Matters More Than You Think
Your horse reads your body like a book. When you shift your weight forward, he interprets that as "speed up." When you collapse one hip, he feels unbalanced and compensates by drifting to one side. Every tense muscle, every gripped knee, every rigid arm sends a message down through the saddle.
The problem is that most of these messages are unintentional. A rider who grips with her knees thinks she's staying secure, but she's actually pushing herself up and out of the saddle while simultaneously telling her horse to move faster. A rider who leans forward to see where he's going shifts his center of gravity onto the horse's forehand, making it harder for the animal to lift his shoulders and engage his hindquarters.
Beyond communication, your riding form basics directly impact safety. A centered, balanced rider can move with the horse's motion and stay secure through a spook or stumble. A rider perched on top with no connection to the saddle becomes a passenger—and passengers fall off.
Then there's the physical toll. Riding with poor posture creates chronic pain in your lower back, hips, and knees. Your horse suffers too, developing soreness in his back, resistance in his movement, and eventually behavioral problems that stem from physical discomfort.
The good news? Once you understand the mechanics of proper positioning, your body can learn new patterns. It takes time and repetition, but the payoff is a riding experience that feels effortless instead of exhausting.
A correct seat isn't about forcing your body into an artificial position. It's about aligning yourself in a way that allows your skeleton to do the work while your muscles stay soft and responsive.
— Sally Swift, Centered Riding instructor and author
The Three-Point Seat: Foundation of All Horse Riding Positions
The classical seat gets its name from three points of contact: your two seat bones and your pubic bone. These three bony landmarks create a triangle that anchors you in the deepest part of the saddle.
Where Your Seat Bones Should Contact the Saddle
Sit on a hard chair and rock your pelvis forward and back. Feel those two pointy bones? Those are your seat bones (technically your ischial tuberosities), and they're your primary connection to the saddle.
When your pelvis is neutral—not tipped forward or tucked under—your seat bones point straight down. This position allows your spine to maintain its natural curves and your weight to drop through your body into the saddle. Many riders make the mistake of perching on the back pockets of their breeches, which tips the pelvis backward and rounds the lower back. Others try to force an exaggerated arch, which tips the pelvis forward and creates tension through the hip flexors.
The correct horse riding position feels like you're sitting on a barstool, not a dining chair. Your pelvis is upright, your seat bones make even contact with the saddle, and you can feel the horse's back muscles working beneath you.
How Weight Distribution Affects Your Horse's Movement
Author: Garrett Holloway;
Source: 3templatedesign.site
Your horse's back acts like a bridge. When weight is centered and distributed evenly, the bridge stays strong and flexible. When weight shifts too far forward or back, or heavily to one side, the bridge strains to compensate.
An equestrian seat position that's too far back drives the horse onto his forehand and makes it difficult for him to round his back and engage his core. Too far forward, and you're ahead of the motion, forcing the horse to hollow and brace against your weight.
Even weight distribution doesn't mean rigid stillness. Your seat needs to follow the horse's movement—absorbing the motion through your lower back and hips while your upper body remains stable. Think of your pelvis as a bowl of water. You want the water to slosh gently with the horse's stride, not splash out because you're rigid or tip over because you're loose and floppy.
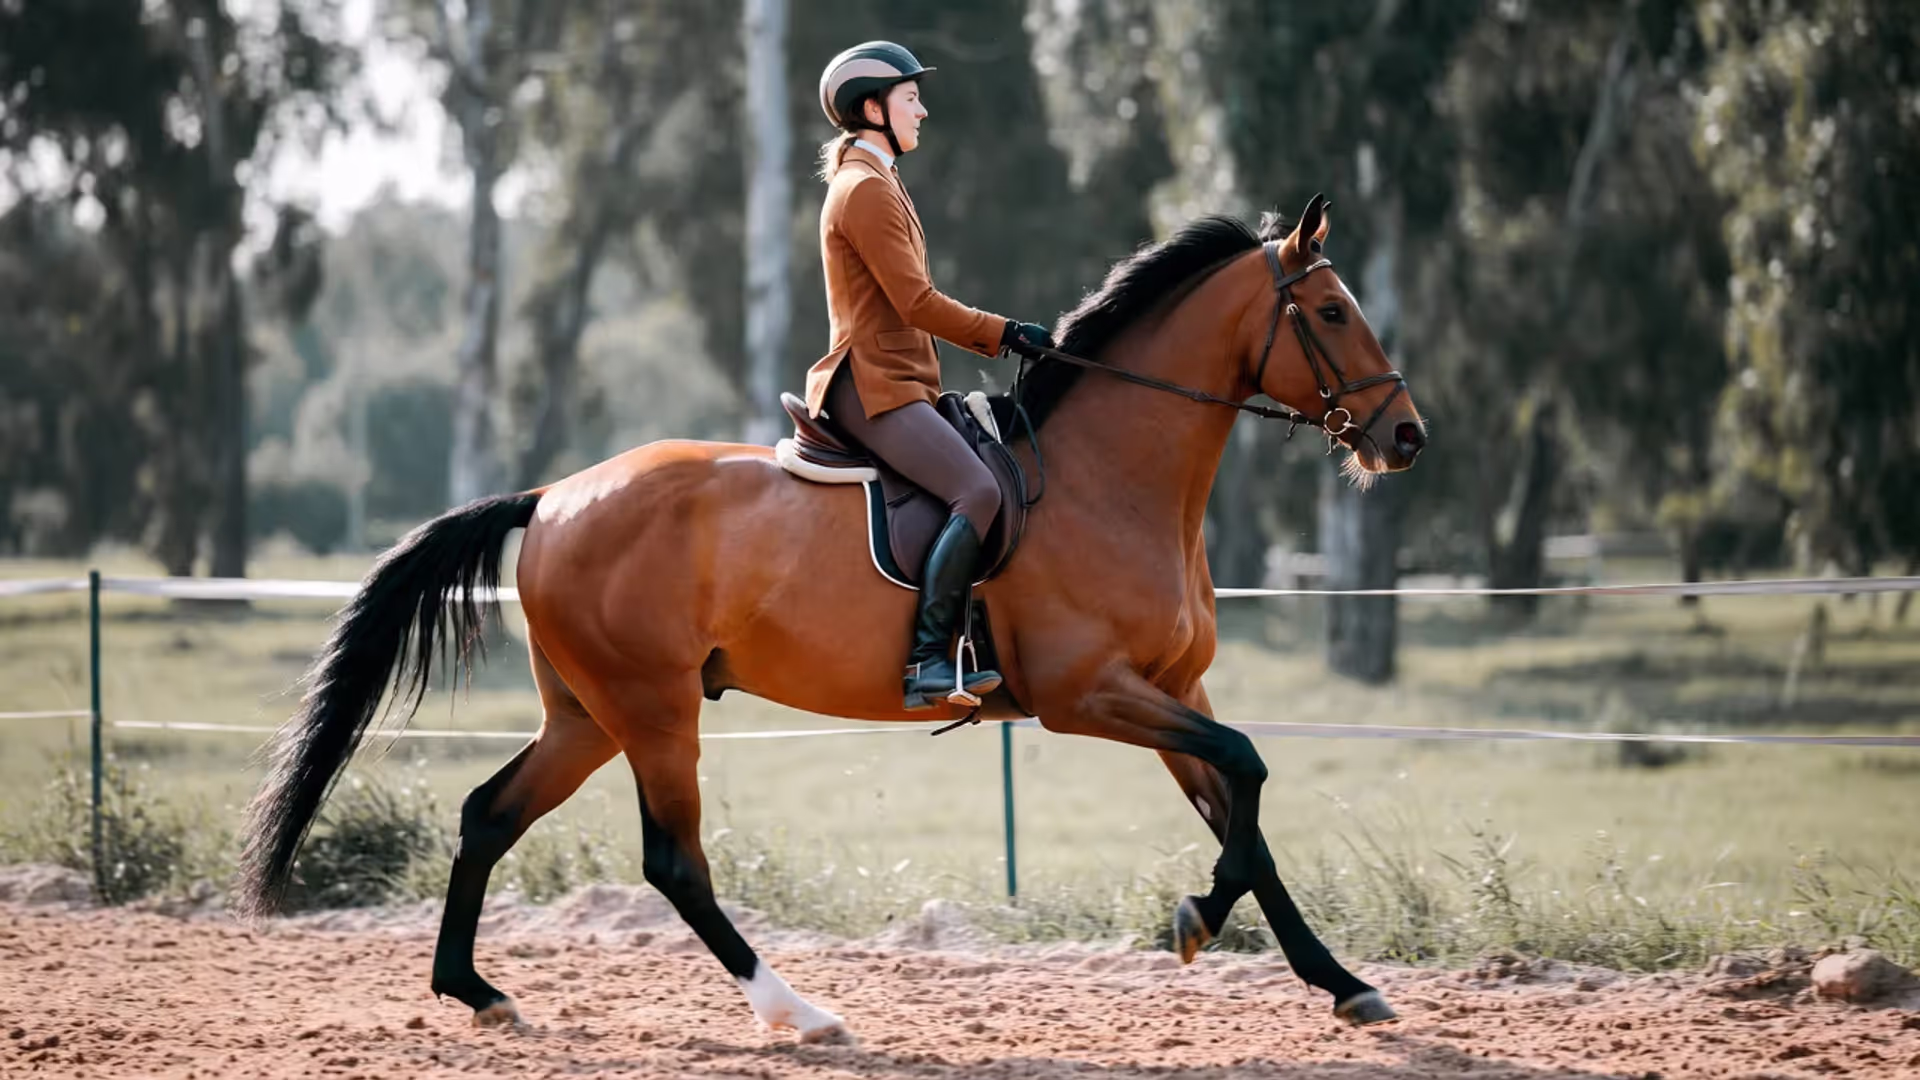
Breaking Down Proper Leg Position Horseback Riding
Your legs do more than keep you from sliding off. They're your primary steering mechanism, your gas pedal, and a crucial part of your stability system.
Heel, Knee, and Hip Alignment
Draw an imaginary vertical line from your ear through your shoulder, hip, and heel. When these four points align, your body is stacked in a way that requires minimal muscular effort to maintain. Your bones hold you up, and your muscles can stay soft and responsive.
This alignment depends entirely on your stirrup length. Too long, and you'll reach for the stirrups with your toes, gripping with your knees and losing the shock absorption in your ankle joint. Too short, and your knee will rise above your hip, tipping you forward and putting you ahead of the horse's motion.
A rule of thumb for English riders: when your leg hangs relaxed out of the saddle, the stirrup bar should hit right at your ankle bone. Western riders typically ride a hole or two longer, but the same principle applies—your leg should hang naturally from your hip with a slight bend in the knee.
Your heel position matters because it controls your ankle joint. A flexed ankle (heel down) acts as a shock absorber, allowing your lower leg to stay stable against the horse's side while your upper body moves independently. Heels that ride up indicate tension through the calf and often accompany gripping with the knees.
Common Leg Position Mistakes That Throw Off Your Balance
The "chair seat" happens when a rider's feet shoot forward and their upper body tips back. This position might feel secure, but it's actually quite precarious—you're balancing on the cantle of the saddle with no ability to move with the horse. One stumble, and you're on the ground.
Gripping with the knees is perhaps the most common mistake in beginner riding posture horse training. It feels intuitive—squeeze harder to stay on—but it actually pushes you up and out of the saddle. Your knees should rest against the saddle with contact but no tension. The grip comes from your inner thigh and the weight dropping down through your heel.
The "pinched" leg position happens when a rider draws their lower leg back, often in an attempt to apply leg aids. Your calf should rest just behind the girth with your toe pointed forward (not out like a duck). When you need to use your leg, you apply pressure by closing your calf against the horse's side, not by drawing your entire leg backward.
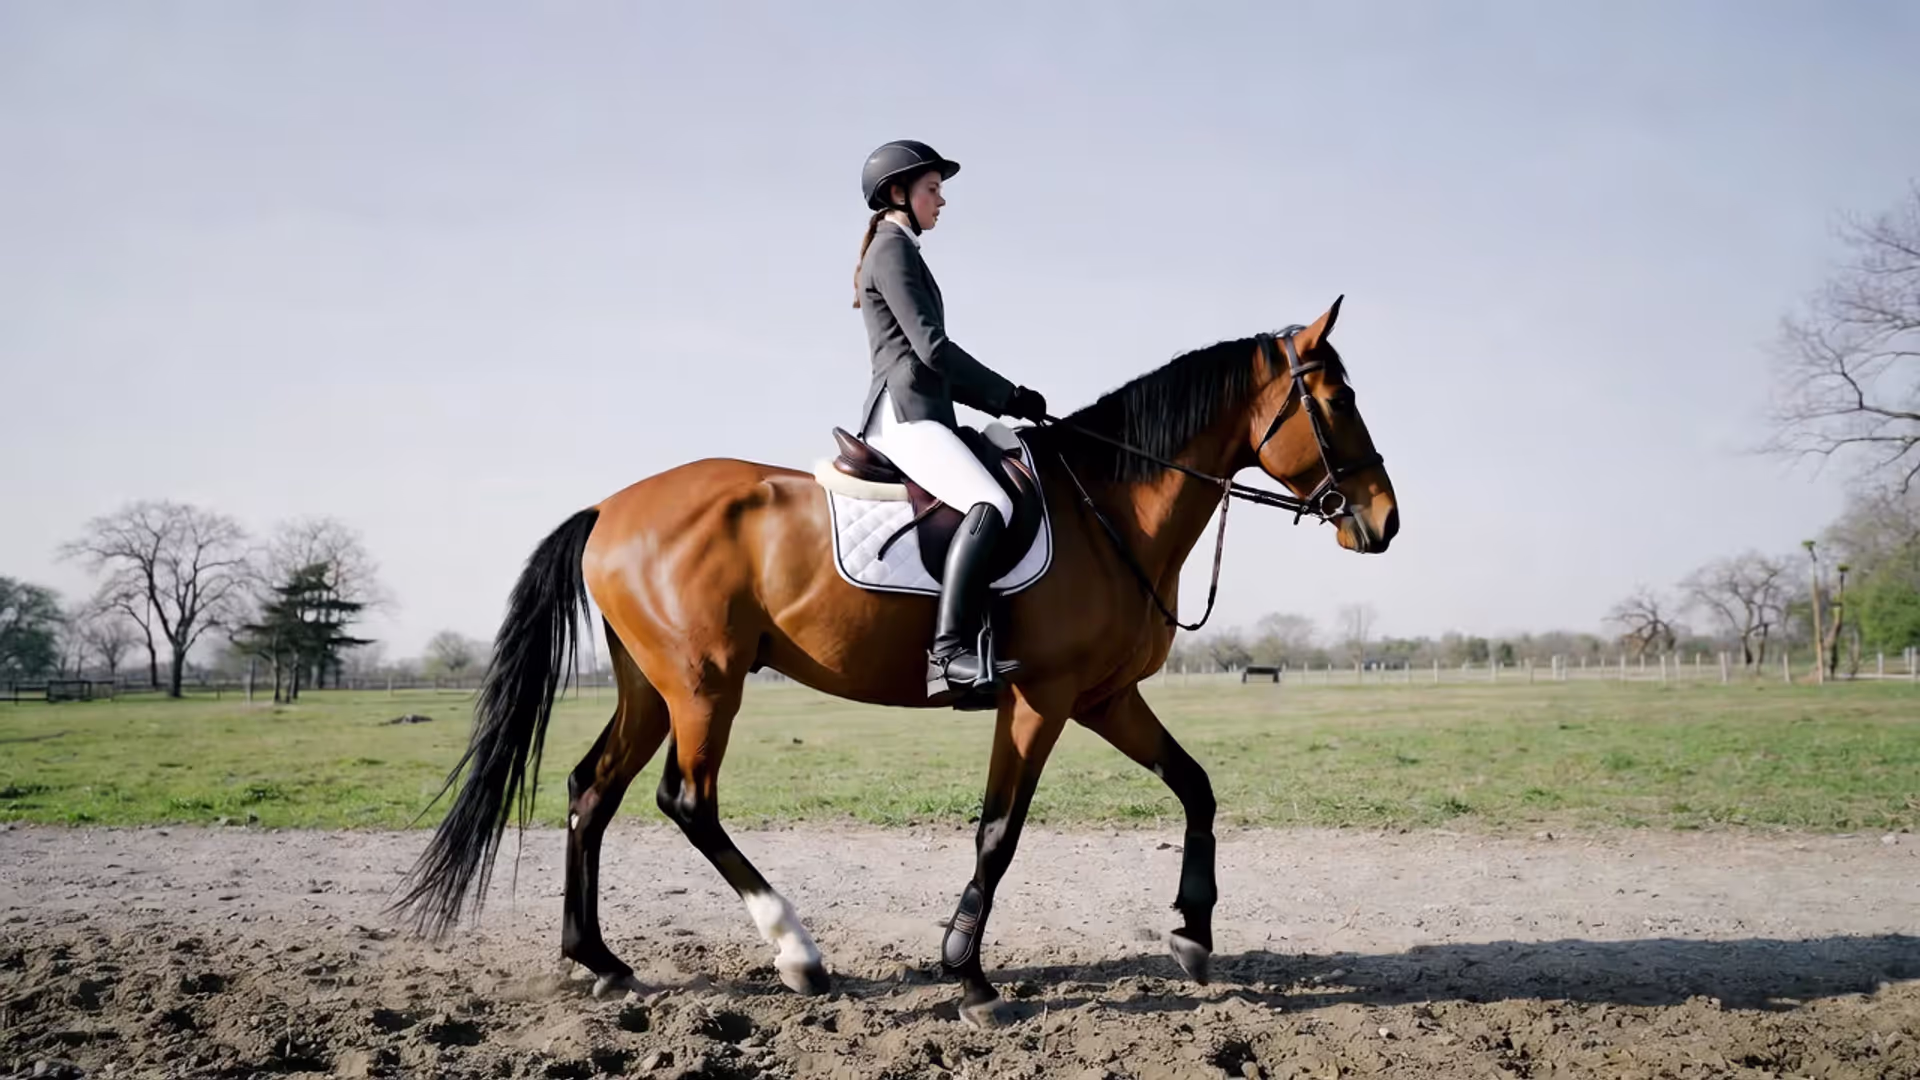
Upper Body Positioning: Shoulders, Arms, and Hands
Your upper body acts as your balance point. Too far forward, and you're on the horse's neck. Too far back, and you're water-skiing behind him.
Your head weighs about ten pounds, which means where you look matters. Riders who stare down at their horse's neck tip their entire upper body forward. Your chin should stay level, your gaze up and forward, looking where you want to go rather than where you are.
Shoulders should stack directly over your hips. Many riders round their shoulders forward, collapsing through the chest and making it impossible to follow the horse's motion through their lower back. Others pin their shoulders back in an exaggerated military posture, which creates tension through the entire upper body.
Your arms hang from your shoulders with your elbows bent at roughly 90 degrees. There should be a straight line from your elbow through your hand to the horse's mouth. This line—called the rein contact—allows you to communicate through the reins without pulling or restricting the horse's head and neck.
Stiff arms that don't follow the motion of the horse's head create a harsh, punishing contact. Arms that are too loose provide no communication at all. Your elbows should act as hinges, opening and closing slightly to maintain consistent contact as the horse's head moves with each stride.
Hand position varies slightly by discipline, but the principle remains the same: thumbs on top, hands closed softly around the reins, wrists straight. Turned-in wrists or hands held too high or too low break that straight line from elbow to bit.
How Riding Discipline Changes Your Seat Position
Author: Garrett Holloway;
Source: 3templatedesign.site
Different equestrian activities require modifications to the classical seat. These aren't arbitrary style choices—they're functional adaptations that help horse and rider perform specific tasks.
Discipline
Seat Position
Leg Position
Upper Body Angle
Primary Purpose
Dressage
Deep three-point seat, sits on all three points throughout
Long stirrup, leg draped around horse's barrel
Vertical, shoulders over hips
Maximum weight and seat influence for collection and engagement
Show Jumping
Two-point position over fences, three-point on flat
Shorter stirrup, more bend in knee
Forward 20-30° when jumping
Clears the saddle to allow horse's back to round over fences
Western Pleasure
Relaxed three-point, sits deep
Long stirrup, leg slightly forward
Vertical to slightly back
Quiet, minimal movement for slow, collected gaits
Eventing (Cross-Country)
Light three-point to two-point
Shorter stirrup than dressage
Forward 15-25°
Security at speed while staying off horse's back
Reining
Deep three-point, drives down into saddle
Moderate stirrup length
Vertical, weight slightly back for stops
Maximum seat and leg influence for quick maneuvers
In dressage, riders maintain a deep three-point seat because they're asking the horse to collect—to shift weight to the hindquarters and elevate the forehand. The rider's weight stays centered and deep to encourage this engagement.
Jumpers, by contrast, need to get their weight off the horse's back at the moment of takeoff. The two-point position (weight in stirrups, seat lifted slightly out of the saddle) allows the horse's back to round and his hindquarters to power up and over the fence.
Western disciplines generally feature a more relaxed position with slightly longer stirrups and less posting at the trot. This isn't because Western riders are lazy—it's because Western horses are trained to respond to weight shifts and seat pressure rather than constant leg aids. A deep, quiet seat allows for subtle communication.
Understanding these variations helps you recognize that there's no single "perfect" position. The best horse riding positions serve the specific demands of the activity while maintaining the fundamental principles of balance and effective communication.
7 Balance Exercises You Can Practice Off the Horse
Author: Garrett Holloway;
Source: 3templatedesign.site
Riding well requires core strength, hip flexibility, and body awareness that you can develop on the ground.
Single-Leg Balance Stands Stand on one leg for 30 seconds, then switch. Progress by closing your eyes or standing on an unstable surface like a foam pad. This builds the ankle stability and core engagement you need to maintain balance in horse riding without gripping.
Plank Variations Standard planks, side planks, and plank variations strengthen your core without creating the tight, rigid muscles that interfere with following the horse's motion. Hold for 30-60 seconds, focusing on keeping your pelvis neutral and your breathing steady.
Hip Flexor Stretches Kneel with one knee down and the other foot forward. Push your hips forward until you feel a stretch in the front of your back hip. Tight hip flexors prevent you from sitting deep in the saddle and cause your leg to creep forward into a chair seat.
Wall Sits Stand with your back against a wall and slide down until your thighs are parallel to the floor. Hold for 30-60 seconds. This builds the thigh strength you need to maintain leg position without gripping with your knees.
Yoga Balance Poses Tree pose, warrior III, and half-moon pose all develop the body awareness and core stability that translate directly to riding. They also teach you to breathe and stay relaxed while balancing, which is exactly what you need in the saddle.
Resistance Band Leg Work Loop a resistance band around your ankles and practice moving one leg forward, back, and to the side while keeping your pelvis stable. This mimics the independent leg aids you need while riding.
Swiss Ball Sitting Sit on an exercise ball and practice maintaining neutral posture while the ball moves beneath you. Progress to bouncing gently, lifting one foot at a time, or closing your eyes. This is the closest you can get to simulating the horse's movement while on the ground.
Consistency matters more than intensity. Fifteen minutes three times a week will produce noticeable improvements in your riding within a month.
Frequently Asked Questions About Horse Riding Positions
How long does it take to develop a correct horse riding position?
Most riders start to feel significant improvements within 8-12 weeks of consistent practice, but truly ingraining proper position takes years. Your body needs to build new muscle memory, which happens through repetition. Riding 2-3 times per week with focused attention on position will produce faster results than riding daily without awareness. Many riders benefit from regular lessons with a qualified instructor who can catch and correct position faults before they become habits. Even experienced riders continue refining their position throughout their riding careers.
Should my heels be down or level when riding?
Your heels should be slightly lower than your toes, with your ankle joint flexed. This isn't about forcing your heel down as far as possible—that creates tension through your calf and actually reduces stability. Think of your ankle as a shock absorber that needs to flex and extend with the horse's movement. The "heels down" cue is meant to prevent your heel from riding up, which happens when you grip with your knees or stand in the stirrups. If you're struggling to keep your heels down, check your stirrup length and focus on relaxing your lower leg rather than forcing your heel into position.
What's the difference between a two-point and three-point position?
A three-point position means your seat bones and pubic bone are all in contact with the saddle. This is your standard riding position for most flatwork. A two-point position means you've lifted your seat slightly out of the saddle, balancing on your two legs (hence "two-point"). Your weight drops down through your heels, and your upper body inclines forward from the hip. Riders use two-point position when jumping, galloping, or working up hills—any time you want to get your weight off the horse's back to allow maximum freedom of movement. Some instructors also use two-point as an exercise to develop leg strength and balance.
Can bad riding posture hurt my horse's back?
Absolutely. A rider who consistently sits crooked, collapses one hip, or perches on the back of the saddle creates uneven pressure that can cause muscle soreness, resistance, and eventually chronic back problems. Horses are remarkably tolerant, but they compensate for poor rider position by hollowing their backs, stiffening their movement, or developing behavioral issues like refusing to go forward or bucking. If your horse suddenly becomes difficult or resistant, have a qualified instructor evaluate your position before assuming it's a training problem. Many "horse problems" are actually rider position problems in disguise.
Developing proper riding position isn't a box you check and forget. It's an ongoing practice that deepens with every ride. Your body will default to old patterns when you're tired, nervous, or focused on something else. That's normal.
The riders who progress fastest are the ones who can feel when they're off-balance and make small adjustments without overthinking. They develop body awareness through consistent practice, regular feedback from instructors, and sometimes video analysis that shows them what they can't feel yet.
Start with one element at a time. Spend a week focusing exclusively on your leg position. Then shift attention to your seat. Then your hands. Trying to fix everything at once creates mental overload and physical tension. Small, consistent improvements compound over time.
Remember that your horse is your best teacher. When you find correct position, you'll feel him move more freely beneath you. His gaits will become smoother, his responses quicker, and his attitude more willing. That feedback loop—where better position creates better movement, which encourages you to maintain better position—is what transforms mechanical correctness into feel.
Your riding position isn't about achieving some perfect ideal. It's about finding functional alignment that allows clear communication, effortless balance, and a partnership where both you and your horse can do your best work.
Learning to post transforms the trot from a jarring ordeal into a smooth, enjoyable gait. This guide breaks down the rising trot into actionable steps that work whether you're riding a school horse or your own mount, covering body position, timing, common mistakes, and practical exercises.
Sitting atop a horse for the first time feels nothing like you imagined. This complete guide walks you through everything from your first moments in the saddle to executing basic commands with confidence, covering safety gear, proper posture, mounting techniques, and common beginner mistakes to avoid.
Content on 3templatedesign.site is provided for general informational and educational purposes only. The information on this website may include topics related to horse care, feeding, grooming, horse breeds, training methods, riding techniques, and common horse health conditions.
This content is not intended to be veterinary, medical, training, or professional animal care advice. Horse ownership and riding involve responsibilities and potential risks for both riders and animals.
Users are responsible for evaluating their own experience, equipment, and the condition of their horse before applying any information from this website. Use of this website does not create any professional, veterinary, or advisory relationship with trialstribulations.net.
We are not responsible for any injuries, damages, or losses resulting from the use of information provided on this website. Horse owners and riders are encouraged to consult qualified veterinarians, trainers, or equine professionals when making decisions about horse care or training.