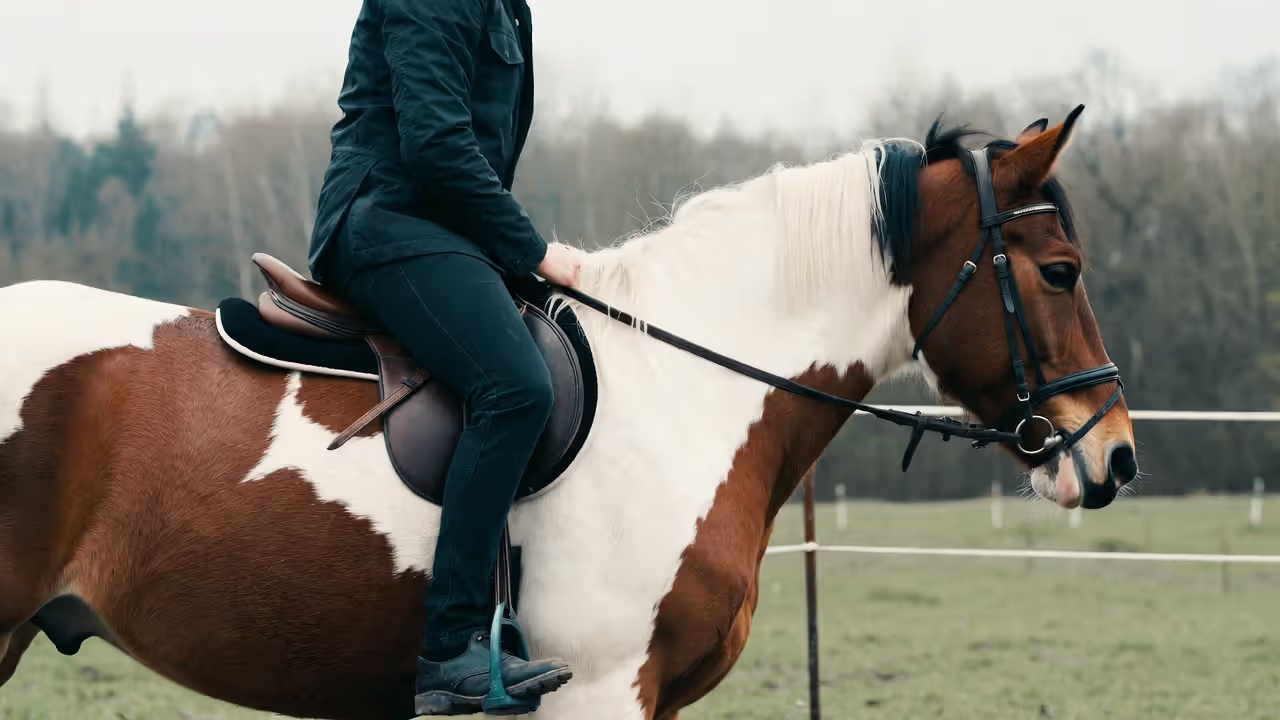
That first moment on horseback? It catches everyone off guard. The height alone surprises most people—you're suddenly eight feet off the ground, perched on warm muscle that breathes and shifts beneath you. Your hands don't know where to go. Your legs feel useless. And yet, within a few weeks, this same position will feel natural enough that you'll wonder why it seemed so alien.
What to Expect During Your First Horseback Riding Lesson
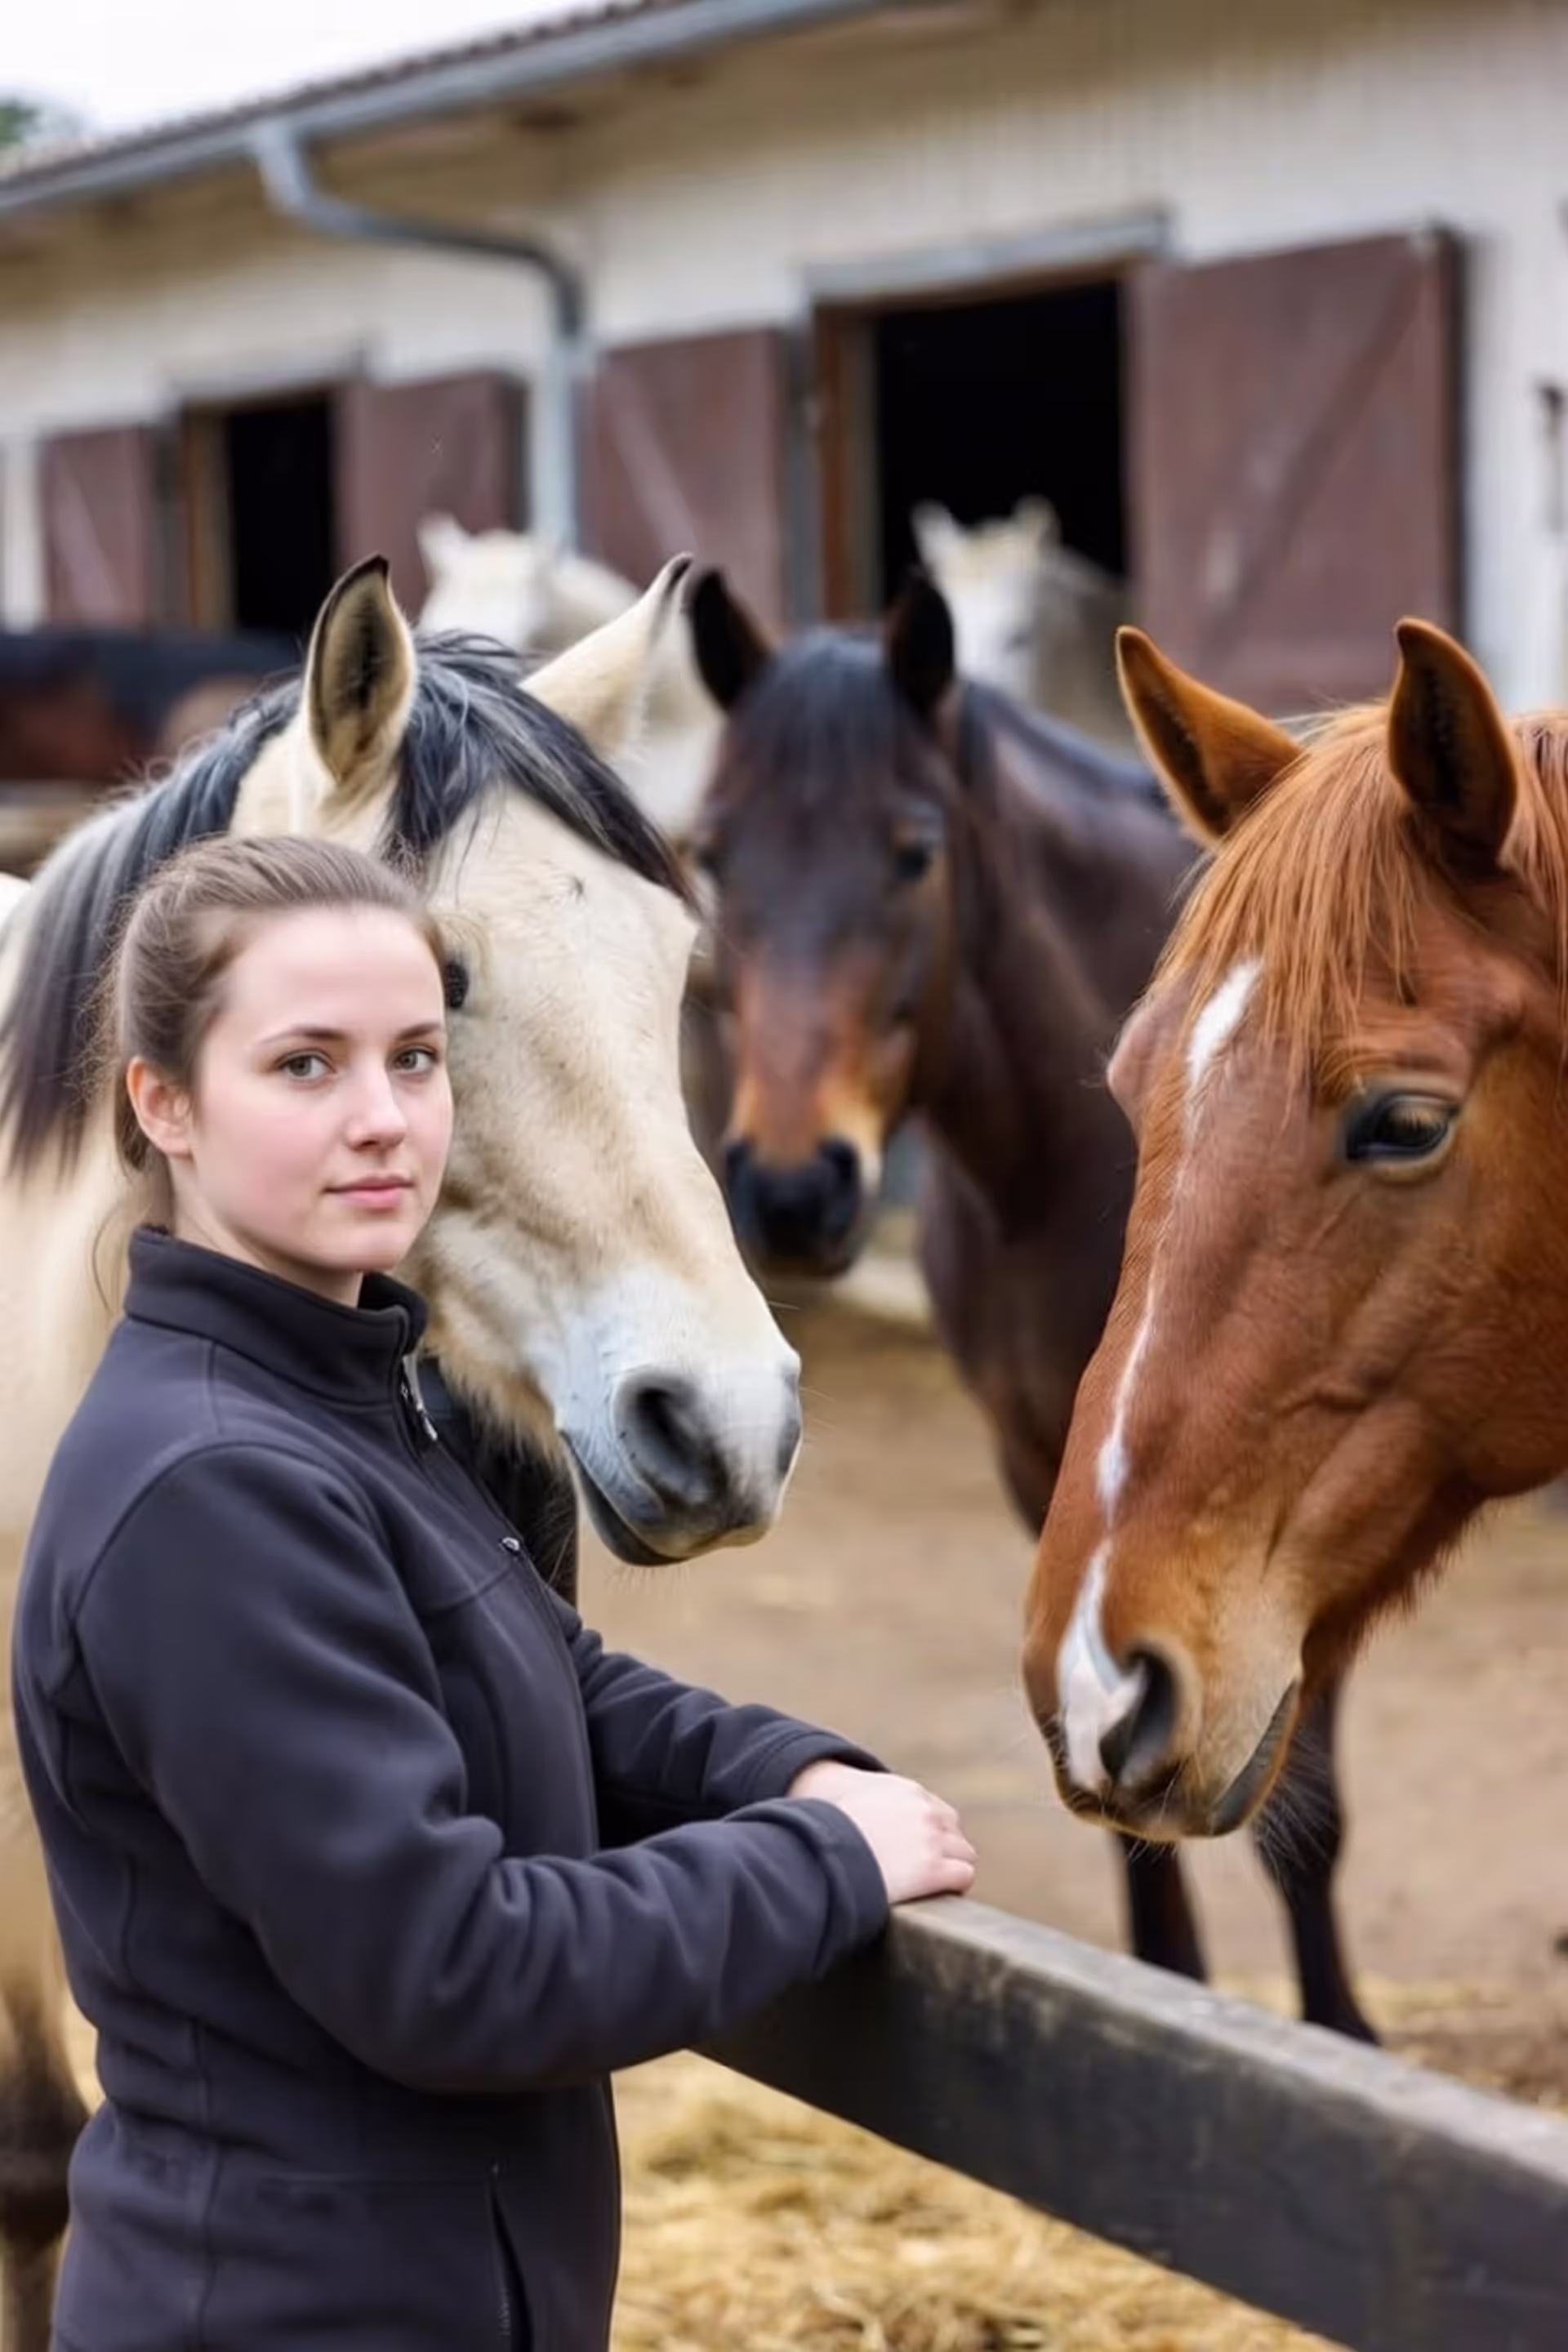
Walk into any riding stable on a Saturday morning and you'll see it: nervous adults clutching clipboards, kids bouncing with excitement, everyone dressed in their best guess at "riding clothes." Your first lesson probably won't happen on a trail. Most instructors start you in an enclosed arena—usually a rectangular space with sand footing and a fence around the perimeter.
You'll meet your horse before mounting. Lesson barns typically pair beginners with what riders call "schoolmasters"—older horses who've taught dozens of people to ride. Mine was a 22-year-old gelding named Copper who could've cared less whether I bounced around like a sack of potatoes. He'd seen worse.
The safety talk comes first. Your instructor will cover the critical stuff: never wrap reins around your fingers (you could break them if the horse spooks), always approach from an angle where the horse can see you, and what to do if things go sideways. This takes maybe fifteen minutes, though newer instructors sometimes drag it out longer. Pay attention anyway—the boring parts often matter most.
Here's what surprises people: your instructor will tell you about your specific horse's quirks. "Murphy gets lazy near the gate, so you'll need stronger leg there." "Daisy turns better to the right than left." "Scout will test you—he'll pretend he doesn't understand 'walk' unless you really mean it." This isn't filler conversation. School horses develop personalities shaped by hundreds of riders, and understanding yours makes everything easier.
Count on 30 to 60 minutes in the saddle for that first session. Any longer and your legs will mutiny—riding uses muscles you didn't know existed. Shorter lessons work better for kids under eight or anyone over sixty starting out.
For the first ten minutes, maybe fifteen, your instructor might lead your horse by hand while you just sit there. Feels silly, right? Like training wheels on a bicycle. But it works. Without worrying about where the horse goes, you can focus completely on where your body goes. Are your shoulders even? Is your weight balanced? Can you feel the horse's back moving under you?
You'll spend most of this first lesson walking. Just walking. No trotting, definitely no cantering. Some people find this tedious. Push past it. Rushing into faster gaits before your seat stabilizes creates compensation patterns that you'll spend months trying to undo later. I've watched it happen—the student who begs to trot on day one is usually still bouncing around awkwardly in week eight.
Author: Emily Harrington;
Source: 3templatedesign.site
Essential Safety Gear and Pre-Ride Preparation
What to Wear for Your First Ride
The helmet comes first, and it's non-negotiable. Look for ASTM/SEI certification—those stickers should appear clearly on any helmet you use. Most barns keep loaner helmets, but inspect them before putting one on your head. Cracks in the shell? Pass. Frayed chin strap? Pass. Manufacturing date from 2015? Probably pass—helmets degrade after about eight years even if they look fine.
Item
Why You Need It
What Works Instead
Typical Price Range
Certified riding helmet
Head injuries from falls can be catastrophic; helmets reduce severe injury risk by 50%
A quality bicycle helmet works temporarily if it fits properly
$50–$200
Boots with a defined heel
Flat soles slip through stirrups; if you fall with your foot caught, you get dragged
Sturdy hiking boots with at least a 1-inch heel
$60–$150
Fitted long pants
Stirrup leathers rub your calves raw within twenty minutes if skin is exposed
Thick leggings or any stretchy athletic pants without inner seams
$20–$80
Riding gloves (helpful, not required)
Reins cause blisters during longer lessons; gloves improve grip on sweaty leather
Basic work gloves or cycling gloves both function fine
$15–$40
Here's what doesn't work: sneakers. Ever. The flat rubber sole slides right through a stirrup, and if the horse spooks while your foot's trapped, you're in serious trouble. Dragging injuries rank among the worst riding accidents.
Leave the shorts in your gym bag, even during July heat waves. I learned this the hard way during a beach ride in college—ten minutes in, the stirrup leather had rubbed matching raw patches on both calves that hurt for a week. Jeans work okay, though the stiff denim bunches uncomfortably. Stretchy riding tights feel better but look a bit silly if you're self-conscious.
Jewelry creates snagging points. Hoops can catch on reins or tack clips. Rings can get crushed if your hand gets caught between the saddle and something else. Long necklaces swing around and spook some horses. Pull long hair into a braid or low bun—ponytails don't fit well under helmets.
Understanding Your Horse's Body Language
Spend a minute just watching before you approach. A relaxed horse stands with its weight distributed evenly, ears swiveling around to track sounds, maybe resting one hind leg with the hip cocked. That's your green light.
Ears tell you the most. Forward and alert means the horse is paying attention to something ahead. Swiveling independently—one forward, one back—shows a calm horse tracking its environment. Pinned flat against the head? That's anger or pain. Tell your instructor immediately and don't get on.
Check the eyes, too. Soft expression, lids slightly drooped, no tension around the eye socket—all good signs. When a horse gets stressed, you'll see the whites of their eyes more prominently, and the whole eye looks rounder and harder. Think of the difference between your face when you're relaxed versus when someone startles you.
Tail swishing can mean flies are annoying them, or it can signal irritation. Context matters. Slow, occasional swishes during summer? Probably bugs. Rapid, aggressive swishing while you're tightening the girth? The horse is telling you something bothers them.
Weight shifting between hind legs is normal resting behavior—horses "park" one hip to relax that leg. Pawing at the ground with a front hoof suggests impatience, though some horses do this when they're excited about food. Continuous pawing might indicate colic, which is serious.
Mounting the Horse: Getting On Correctly and Safely
Author: Emily Harrington;
Source: 3templatedesign.site
Left side. Always the left side. This tradition goes back to medieval cavalry—soldiers wore swords on their left hip, so mounting from the right would've meant swinging a three-foot blade over the horse's back. Modern horses expect left-side mounting even though we're not armed anymore.
Stand next to the saddle, facing toward the horse's tail, not the head. Too far forward and your weight pulls the saddle sideways when you mount. Pick up both reins in your left hand—enough contact that the horse knows not to wander off, but don't pull backward. Grab some mane with that same hand if you need stability. You can't hurt the horse by holding mane—it's like someone pulling your hair from the roots, slightly annoying but not painful.
Left foot goes in the stirrup. Ball of your foot on the bar, not your arch or heel. Push down once to test if the girth is tight enough. If the saddle shifts, get down and have someone adjust it—mounting with a loose girth can pull the whole saddle under the horse's belly.
Now comes the awkward part. You'll bounce on your right leg while pulling yourself up with your right hand on the far side of the saddle. Some people spring easily; others need two or three bounces to get enough momentum. Swing your right leg high and wide—clipping the horse's hindquarters with your boot causes them to jump forward, and suddenly you're mounting a moving target.
Land softly. Don't just drop your full weight into the saddle like you're flopping on a couch. Lower yourself with some control.
What goes wrong: jamming your foot too deep into the stirrup makes it harder to get free in an emergency. Hauling on the reins while mounting tells the horse to back up, which makes mounting even harder. Kicking the horse's side with your right leg mid-swing accidentally cues them to walk off. Not fun when you're still halfway on.
Can't physically spring high enough to mount? Use a mounting block—most barns have plastic steps or wooden platforms. Even Olympic-level riders use blocks to spare their horses' backs from the repeated torque of ground mounting. Zero shame in it.
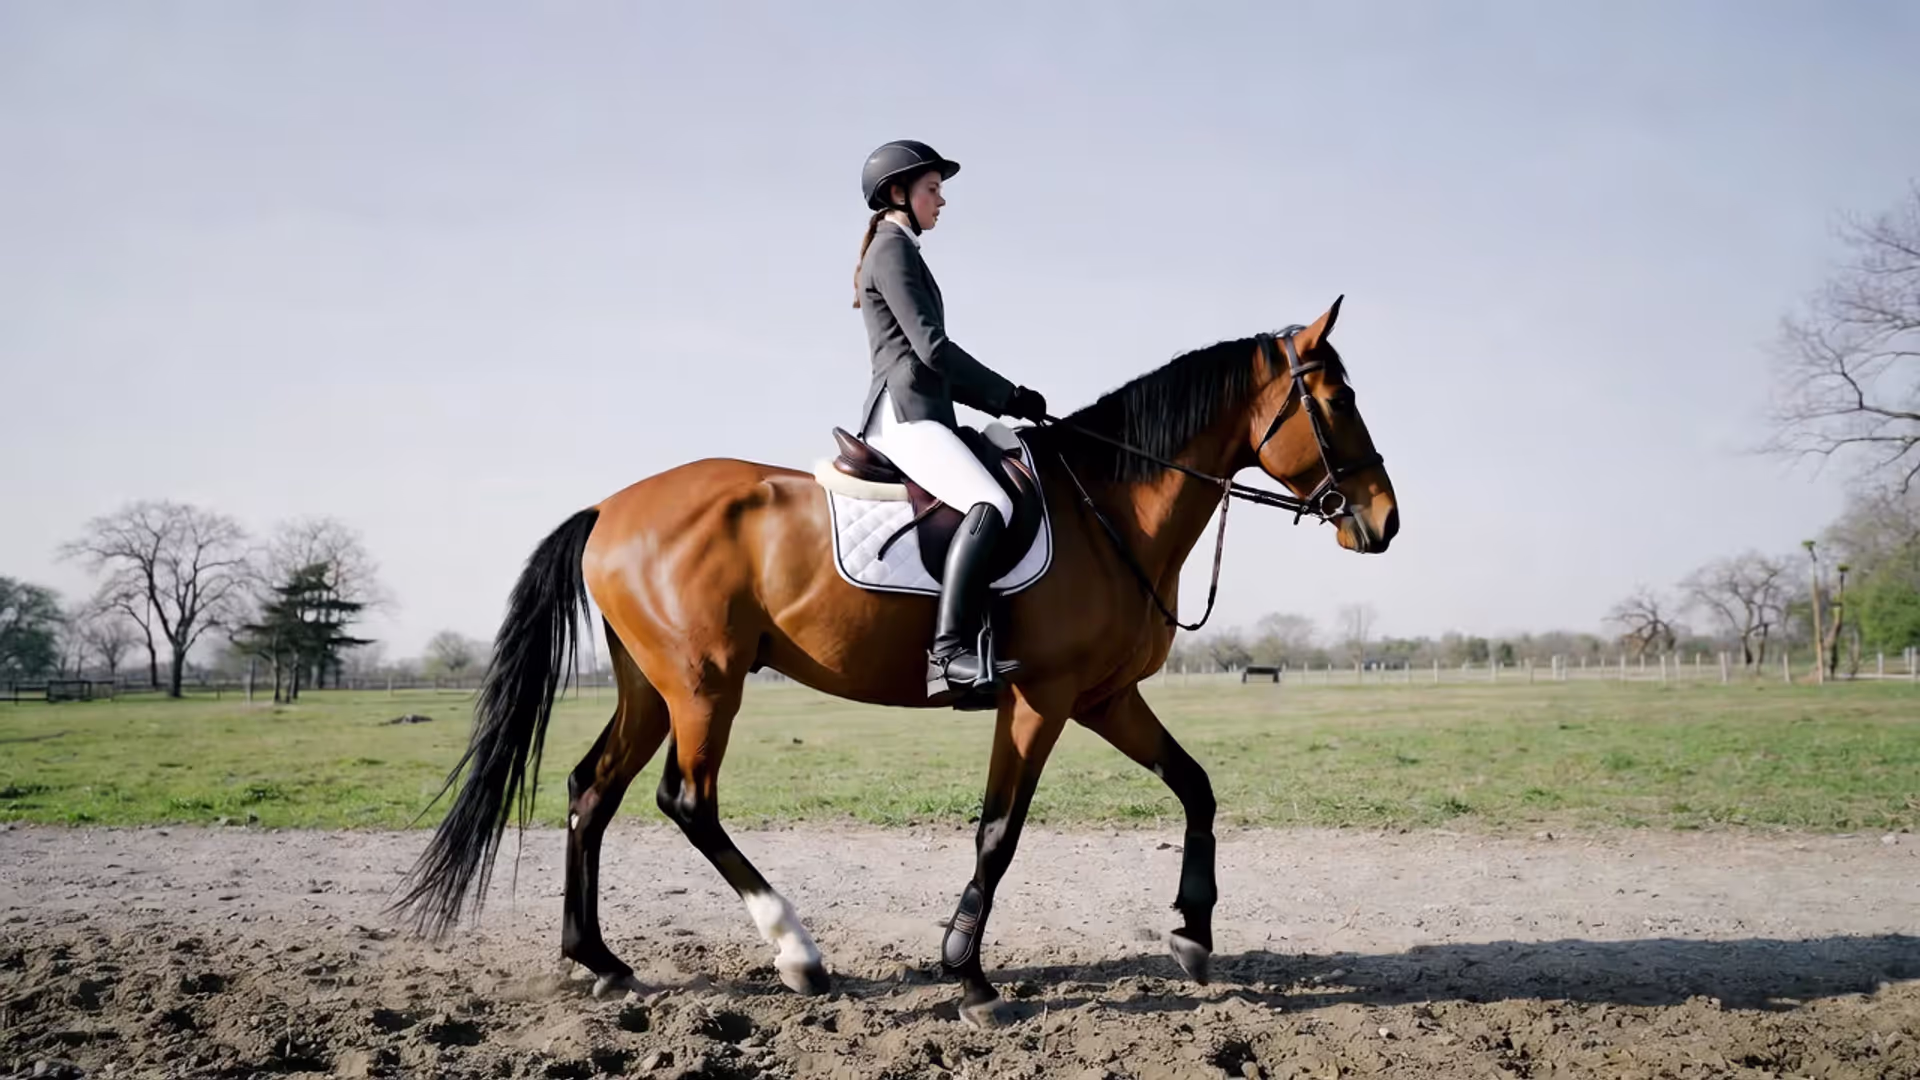
How to Sit on a Horse: Mastering Proper Riding Posture
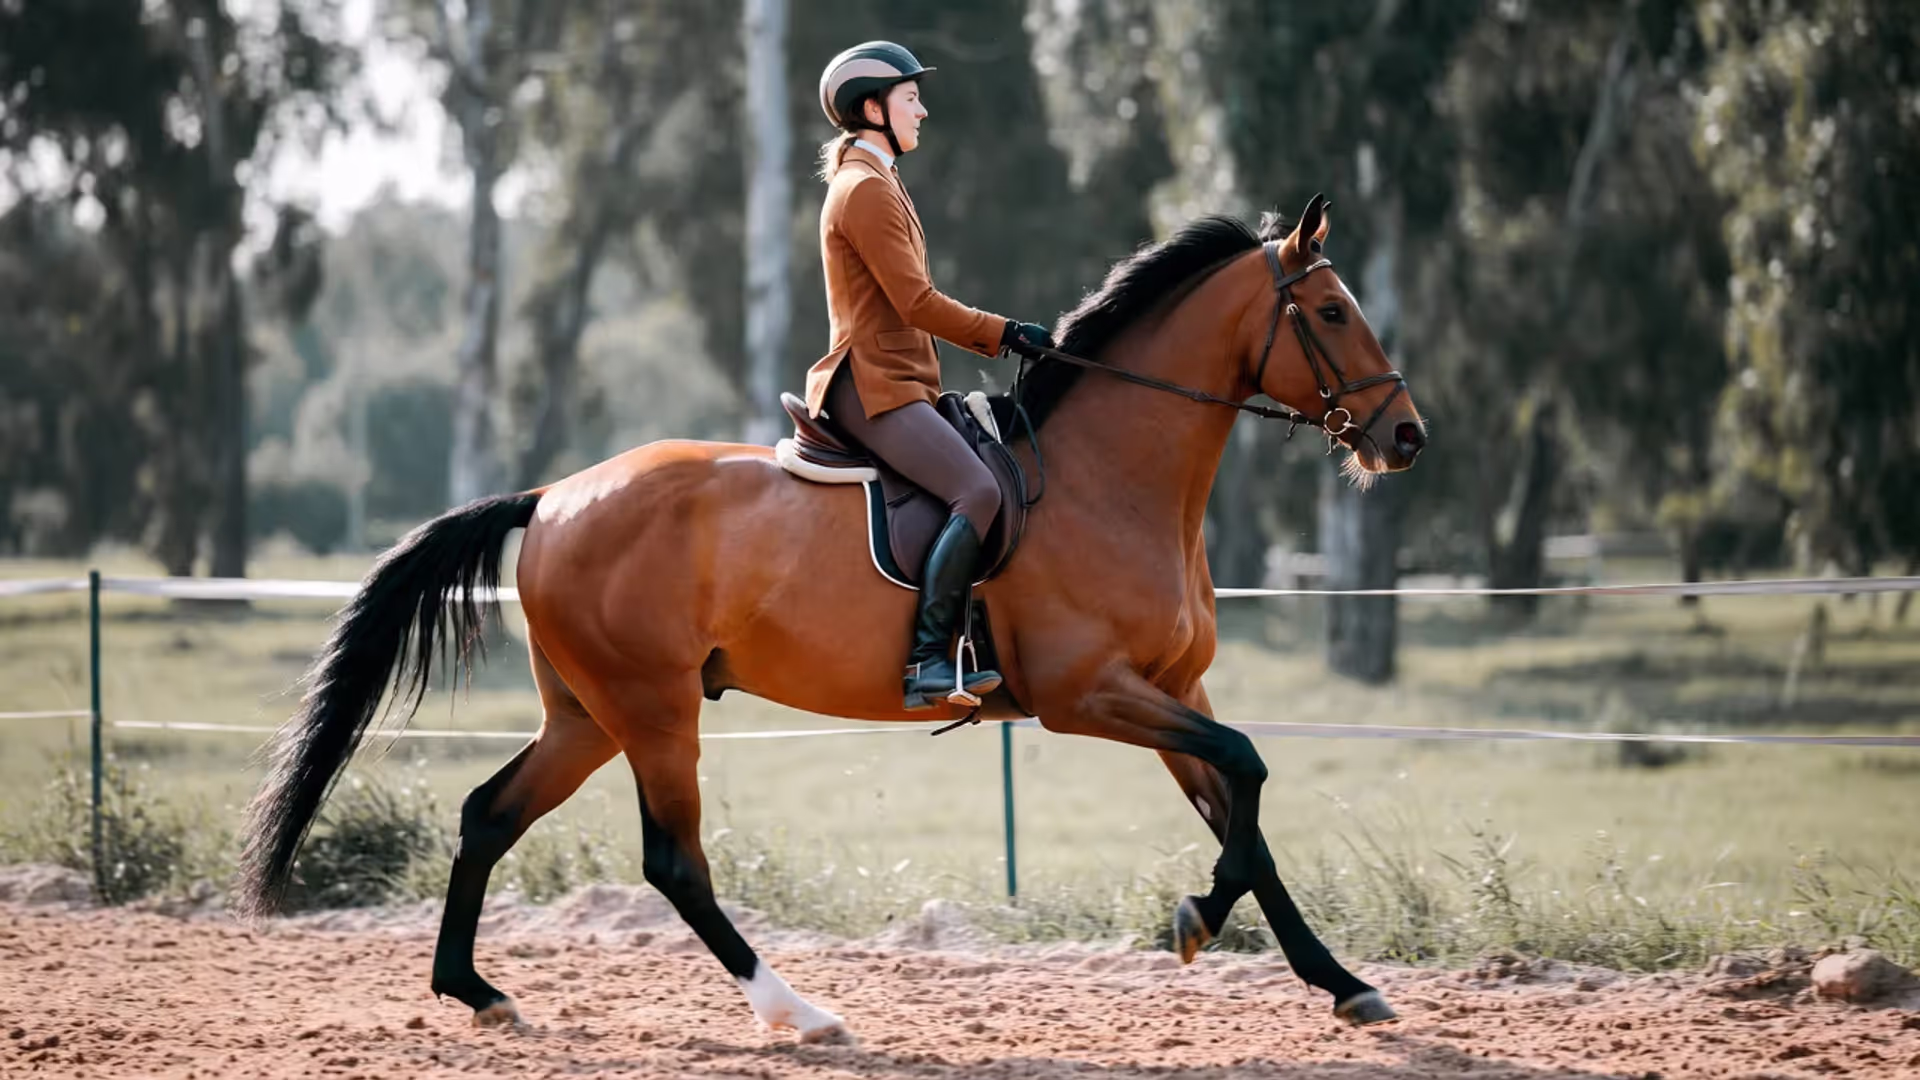
Forget everything you think you know about sitting up straight. Good riding posture isn't a rigid military stance. It's dynamic balance—your body stays aligned but moves fluidly with the horse's motion.
Find your seat bones first. These are the two bony points at the base of your pelvis that you can feel when sitting on a hard chair. Rock your pelvis forward and back slightly until you feel them pressing into the saddle. That's where your weight belongs, not on your tailbone or back on your thighs.
Here's a better visual than the usual "ear-shoulder-hip-heel line" that every instructor repeats: think of your pelvis as a bowl of water. Tip it too far forward and water spills out the front—that's hollowing your back. Tip it too far back and water spills out the back—that's slouching. Keep the bowl level.
Your spine keeps its natural S-curve. Most beginners either slump like they're binge-watching Netflix or arch their backs trying to look "correct." Both positions exhaust your core within minutes and make the horse's movement feel harsher. Instead, grow tall through your torso without forcing it.
Shoulders stay loose and level. Tension creeps in fast, especially when you're nervous. Every few minutes, consciously roll your shoulders back and down. Hunched shoulders shift your center of gravity forward, which unbalances everything below.
Here's what I tell students: forget posture for a second and focus on following the horse's movement. When you're truly balanced, your body moves in harmony with the horse without conscious effort. That's when posture happens naturally, not because you're forcing it.
— Sarah Mitchell, CHA-Certified Riding Instructor
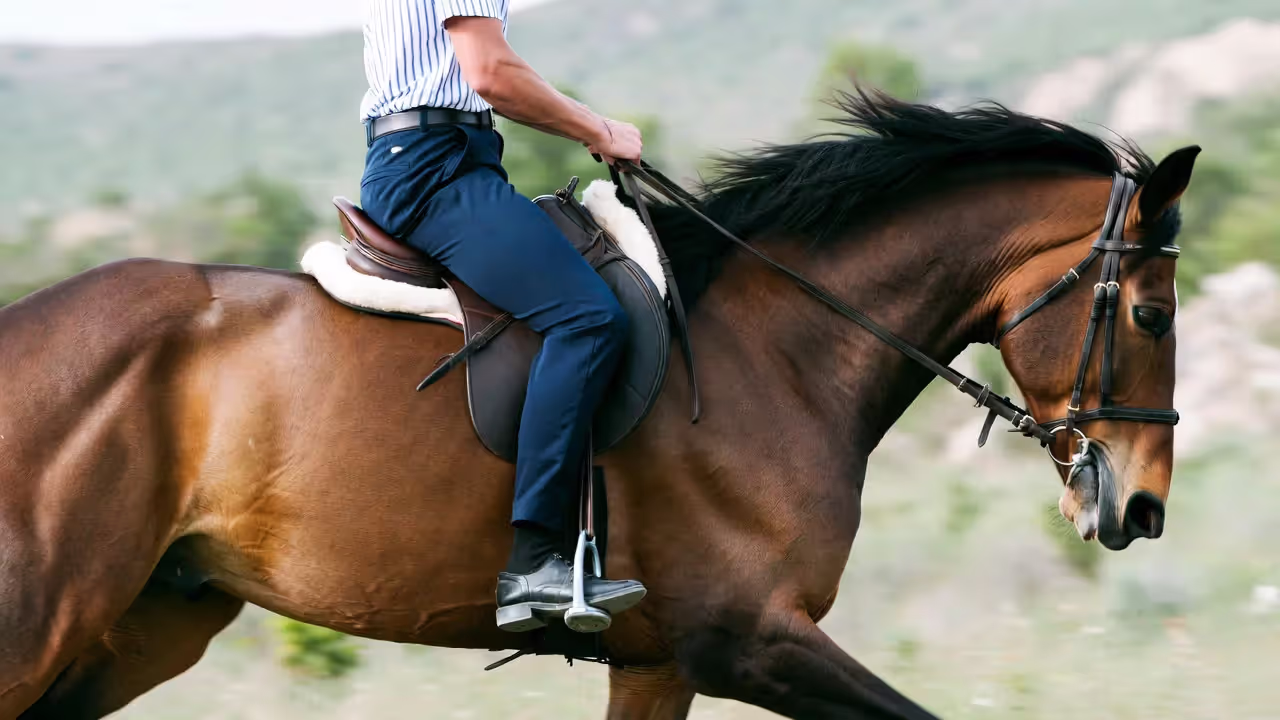
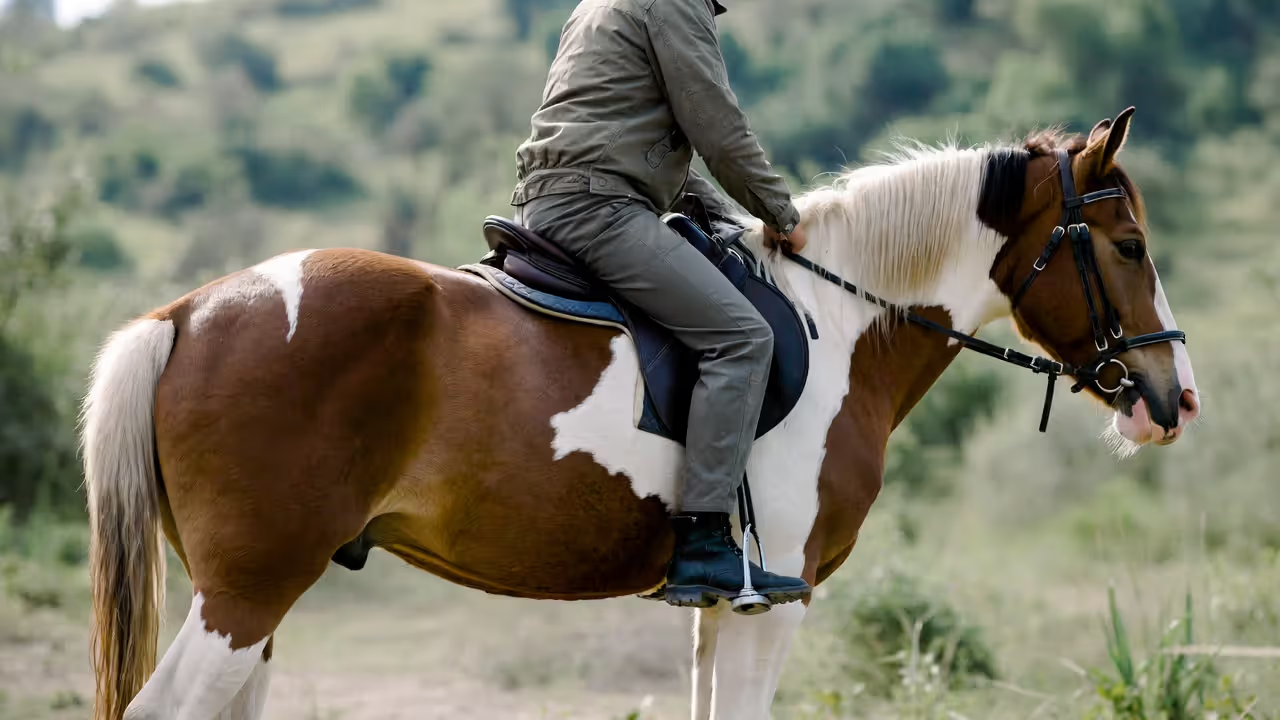
Correct Leg and Foot Placement
Your legs drape naturally from your hips with a slight knee bend, like you're standing with slightly flexed knees. The inside of your calf rests gently against the horse's side—contact without gripping.
Gripping with your knees is the number-one thing beginners do wrong. It feels secure, but it actually perches you on top of the saddle instead of sinking into it. Your legs fatigue in minutes, and you'll bounce at any gait faster than a walk. Try this instead: let your knees widen slightly away from the saddle while keeping calf contact. Feels unstable at first, but it works.
Heels down, always down. This gets repeated so often it becomes background noise, but it matters for real reasons. When your heels stay lower than your toes, it creates a shock-absorbing angle through your ankle that lets you move with the horse. Toes-down pushes your leg forward, losing the stirrup and your balance simultaneously. Drop your weight through your heel into the stirrup.
One-third to half of your foot sits on the stirrup bar—the widest part of your foot, right behind your toes. Too much foot through the stirrup traps you in a fall. Too little and you lose it constantly.
Point your toes forward or very slightly outward. Toes turned inward mean you're gripping with your knees and creating tension up your whole leg.
Hand Position and Rein Control
Hold your hands above the withers—that's the ridge where the horse's neck meets the back—roughly level with the front of the saddle. Beginners often drop their hands too low, which pulls the reins down into the horse's mouth at an uncomfortable angle.
Make a soft fist around the reins, thumbs pointing up. Not clenched, not limp. There's an old analogy about holding a baby bird—firm enough it can't escape, gentle enough you don't hurt it. The rein enters between your pinkie and ring finger, crosses your palm, and exits between your thumb and first finger.
Keep your elbows bent and resting naturally at your sides. Straight arms create rigidity that transfers right down the reins into the horse's mouth. Your elbows should swing slightly—almost imperceptibly—with the horse's head motion at the walk.
Light, consistent contact matters more than most beginners realize. You're not pulling, you're maintaining a gentle connection, like holding a phone to your ear. The contact should feel elastic. New riders ping-pong between strangling the reins and dropping them completely, neither of which communicates clearly.
Basic Horse Riding Techniques: Walk, Halt, and Steering
Author: Emily Harrington;
Source: 3templatedesign.site
Using Leg Cues to Move Forward
Squeeze both calves inward at the same time to ask the horse to walk. Not a kick—a squeeze, like you're trying to hold a beach ball between your legs. Apply it for maybe two seconds, then release as soon as the horse moves.
School horses sometimes ignore wimpy leg cues. They're testing whether you actually mean it or if you're just fidgeting. If gentle pressure gets zero response, escalate to a sharper nudge with your heels. Some instructors let you add a clucking sound—"tch tch"—to reinforce the leg cue.
Here's the trap: constant nagging with your legs. When you squeeze and squeeze and never release, the horse learns to tune you out completely. Apply cue. Release. Wait two full seconds. If nothing happens, ask again more clearly. When the horse responds immediately, reward that by keeping your legs completely soft.
Keep your upper body quiet during the leg cue. Beginners often lean forward or tense their shoulders when asking for forward movement, which actually contradicts the leg signal. Your leg says "go," but your weight shifting forward says "slow down."
Rein Signals for Turning and Stopping
Turning left involves your left hand moving slightly back and out while your right hand gives forward. The left rein guides the horse's neck gently in that direction—you're not cranking the head around like a steering wheel. At the same time, your left leg presses at the girth (where your leg naturally hangs) to push the horse into the turn, while your right leg slides back a few inches to keep the hindquarters from swinging out.
This coordination feels like rubbing your belly and patting your head simultaneously. Most beginners only pull the reins for turns, which creates wide, sloppy arcs. The leg aids shape the turn and keep the horse moving forward with energy through it.
To halt, sit deeper by engaging your core slightly, close your fingers on the reins to increase contact, and breathe out. Don't yank backward—that jabs the bit painfully into the horse's mouth. Instead, gradually build pressure like you're squeezing a stress ball. Hold until the horse stops, then immediately soften your hands.
Voice commands work as backup. A calm "walk on" or "whoa" helps, especially on experienced school horses who've heard these words ten thousand times. But don't rely only on voice—horses read your body first.
Getting all these aids coordinated takes weeks, not days. Your instructor will call out reminders during turns: "outside leg back!" or "soften your inside hand!" These verbal cues help until the coordination becomes automatic, like driving a car eventually becomes.
7 Common Beginner Mistakes and How to Avoid Them
Gripping with your knees: This pushes you up onto the saddle instead of sinking into it. Your legs get exhausted within ten minutes, and you'll bounce like a basketball at the trot. Fix it by focusing on dropping weight into your heels and consciously relaxing your thigh muscles. Actually think about widening your knees away from the saddle slightly—feels wrong but works.
Stiff, locked arms: When your arms go rigid, your hands can't follow the natural bobbing motion of the horse's head at the walk. This creates constant pulling on the reins that the horse fights by raising its head or slowing down. Practice keeping your elbows bent and letting your shoulders move just a bit with each stride.
Looking down at the horse constantly: Your head weighs ten to twelve pounds. When you drop your chin to look down, all that weight pulls your shoulders forward and collapses your entire position. Eyes up, looking between the horse's ears or at a point across the arena, naturally aligns your spine. Use peripheral vision if you need to glance down.
Slouching or rounding your back: This collapses your core and makes every movement harder. Instead of thinking "sit up straight," imagine someone pulling the crown of your head gently toward the ceiling. Engage your abs lightly—not sucked in like you're posing for a photo, just activated enough to support your spine.
Pulling reins too hard: Horses have incredibly sensitive mouths—twenty times more sensitive than human hands. Yanking the reins causes pain, not obedience. If the horse isn't responding, the problem is usually unclear timing or confusing aids, not that you're not pulling hard enough. Check with your instructor before increasing rein pressure.
Inconsistent cues: Asking for a turn while simultaneously squeezing for forward movement confuses the horse. Or stopping your leg aids the instant the horse takes one step, which tells them to halt again. Keep your signals clear and consistent until you deliberately want to change them.
Tension everywhere: Horses are prey animals with incredible sensitivity to energy. When you're tense, they become tense. Force yourself to breathe deeply and regularly. Consciously relax your jaw, shoulders, and hands every thirty seconds. Tension also makes you rigid, which amplifies every bump and makes riding uncomfortable.
Frequently Asked Questions About Learning to Ride
How long does it take to learn how to ride a horse?
Basic competence at the walk—mounting independently, steering accurately, halting when you want—takes most adults six to ten lessons. Trotting without bouncing everywhere adds another eight to twelve sessions. Real proficiency where you can handle different horses in various situations? That's measured in years, not months. Weekly lessons build skills faster than monthly ones because your muscle memory stays fresh between sessions.
Can I learn to ride a horse at any age?
Absolutely, as long as you can walk, balance reasonably well, and get on the horse somehow. I've taught students who started in their sixties and seventies. Older beginners often progress more thoughtfully than kids, though building necessary core strength might take a bit longer. If you've got joint problems or balance concerns, mention them upfront—instructors can modify mounting techniques and choose calmer horses.
How much does a beginner horseback riding lesson cost?
Group lessons typically run $45–$85 per hour. Private instruction costs $70–$150, sometimes more. Location matters hugely—lessons in suburban Connecticut cost double what they do in rural Oklahoma. Group lessons save money but mean less individual feedback. Look for package deals: many barns offer ten lessons for the price of eight or similar discounts. Most places include helmet use and horse in the lesson fee.
Is horseback riding dangerous for beginners?
You're sitting eight feet off the ground on a thousand-pound animal with its own opinions and a flight instinct. So yes, some inherent risk exists. That said, proper instruction with appropriate horses and safety equipment keeps danger fairly low. Most beginner injuries are minor—bruises, sore muscles, scraped shins. Serious injuries mainly happen from falls, which occur far more often at faster gaits. Sticking to walking during early lessons minimizes risk substantially.
Do I need to be physically fit to start horse riding?
Nope. Riding will make you fit in specific ways, though. Your inner thighs, core, and lower back will be incredibly sore after your first few lessons. This is completely normal—you're using muscles in ways they've never worked before. The soreness fades as those muscles strengthen over a few weeks. If you're concerned about fitness, start with shorter 30-minute lessons instead of full hours. Riders of all body types succeed—balance and coordination matter far more than strength or weight.
What's the difference between English and Western riding for beginners?
English saddles are smaller and lighter with no horn, and English riding emphasizes constant rein contact. Western saddles are bigger with that distinctive horn in front, and Western riding often uses neck reining—laying the rein against the horse's neck to turn rather than pulling. Beginners usually find Western saddles more secure because of the horn and deeper seat. English saddles force you to develop better balance since there's less to grab onto. Both styles teach identical foundational concepts: posture, leg aids, clear communication. Choose based on your goals—English if you're interested in jumping or dressage, Western for ranch work or trail riding—or just pick whichever your local barn teaches.
Learning to ride means learning a physical conversation. Your body asks questions through weight shifts and pressure; the horse answers by moving. Those first lessons feel clumsy because you're still learning basic vocabulary. But riding becomes intuitive faster than you'd expect. Within weeks, your body starts balancing and cueing without conscious thought.
Set realistic expectations for yourself. You won't be galloping across open fields next month. But you will feel a horse respond correctly to your cue. You'll sit through your first trot without grabbing the saddle. You'll steer accurately through a pattern without thinking about it. These small victories accumulate into real skill.
Look for an instructor who prioritizes clear explanations and safety over rushing you through levels. A good teacher adapts their methods to your learning style and addresses your specific challenges rather than using the same approach for everyone. The right barn and instructor transform learning from frustrating to genuinely enjoyable.
Riding connects you to thousands of years of human history. The techniques you're learning were refined by countless riders across centuries. Every expert you admire started exactly where you're starting—uncertain, slightly scared, wondering if they'd ever stop feeling awkward in the saddle. They figured it out. You will too.
Learn the fundamentals of proper horse riding positions, from the three-point seat to leg alignment. Discover why correct posture matters for safety, communication, and your horse's health, plus exercises to improve your balance and riding form.
Learning to post transforms the trot from a jarring ordeal into a smooth, enjoyable gait. This guide breaks down the rising trot into actionable steps that work whether you're riding a school horse or your own mount, covering body position, timing, common mistakes, and practical exercises.
Content on 3templatedesign.site is provided for general informational and educational purposes only. The information on this website may include topics related to horse care, feeding, grooming, horse breeds, training methods, riding techniques, and common horse health conditions.
This content is not intended to be veterinary, medical, training, or professional animal care advice. Horse ownership and riding involve responsibilities and potential risks for both riders and animals.
Users are responsible for evaluating their own experience, equipment, and the condition of their horse before applying any information from this website. Use of this website does not create any professional, veterinary, or advisory relationship with trialstribulations.net.
We are not responsible for any injuries, damages, or losses resulting from the use of information provided on this website. Horse owners and riders are encouraged to consult qualified veterinarians, trainers, or equine professionals when making decisions about horse care or training.