Last month, I watched a friend struggle for forty-five minutes trying to catch her three-year-old gelding in a muddy pasture. She'd skipped basic halter work as a youngster, figuring he was "calm enough." Now she's dealing with a 900-pound animal that's learned avoidance pays off.
Here's the thing about halter training: every single handling situation you'll face—vet visits, hoof trims, emergency trailer loading at 2 AM—traces back to these first lessons. Get it right now, and you're golden. Rush through it? You'll spend years untangling the mess.
The horses that freak out during grooming, plant themselves at the trailer ramp, or turn into giraffes when you reach for their ears? Nine times out of ten, they never got proper groundwork. Someone figured they could skip ahead.
What Halter Training Is and Why It Matters for Your Horse
Think of halter training as teaching your horse a new language—specifically, the language of pressure and release. You're not just strapping equipment on their head. You're building an entire communication system that'll carry you through decades of partnership.
This groundwork training horses need covers three main areas. First: getting comfortable with stuff touching their heads and ears. Second: learning that halters aren't predator jaws clamping down. Third: figuring out that pressure doesn't mean "panic and run"—it means "shift your weight this direction and the uncomfortable feeling stops."
Here's what it looks like in practice. You create gentle tension on the lead rope. Your horse drops its head two inches. You instantly release. Boom—conversation established.
The payoff? My neighbor's mare stands rock-solid for insulin shots twice daily. Another friend's retired racehorse loads in any trailer, anywhere, first try. These horses aren't magical unicorns with perfect temperaments. They just learned early on that humans make sense.
Skip these fundamentals and you're looking at destroyed cross-ties, torn-up fencing, and genuinely dangerous situations. A 1,200-pound flight animal that never learned to yield is a lawsuit waiting to happen.
Age and Readiness: When to Start Halter Training Your Horse
Author: Garrett Holloway;
Source: 3templatedesign.site
Most professional breeding operations introduce foals to halters between day three and day seven. That sweet spot gives you a manageable size (they're still wobbly and weak), natural curiosity (everything's interesting), and zero concept of their own strength. A five-day-old foal typically needs just two or three short sessions before they're peacefully following mom around with a halter on.
Wait until weaning time—that four-to-six-month mark—and you're handling a significantly stronger animal with budding teenage attitude. They'll still learn quickly, but you'll need more space and possibly an extra set of hands for safety.
Adult horses throw a wrench in age-based timelines. I've worked with relaxed eight-year-olds that accepted halters within five days. I've also spent three months with a traumatized four-year-old rescue. Age matters less than history and temperament.
Check these readiness markers: Can you approach within ten feet without causing a bolt? Will they tolerate shoulder and neck scratches? Can they stand still for thirty seconds straight?
Halter Training Foals vs. Adult Horses
Foals need short, sweet sessions. We're talking five to ten minutes max, repeated two or three times daily. Their attention spans are nonexistent, but they're memory sponges. Most foals accept headgear and walk beside their mothers within three days—assuming you don't push too hard and trigger resistance.
Adult horses flip this script. They need twenty-to-thirty-minute sessions with way more repetition cycles. An unhandled adult must first learn that humans won't eat them (this alone can take weeks before you even show them a halter). But once mature horses decide to cooperate? Their focus is remarkable. They'll often blast through the actual leading exercises faster than distracted youngsters.
The stakes differ dramatically. A startled foal might hop sideways—annoying but manageable. A terrified adult can flip over backward, strike out with front hooves, or crash through barriers. You need reinforced panels (never wire), realistic expectations, and honest timelines. Budget two full months for a completely green adult horse, minimum.
Essential Equipment and Setup for Halter Training Success
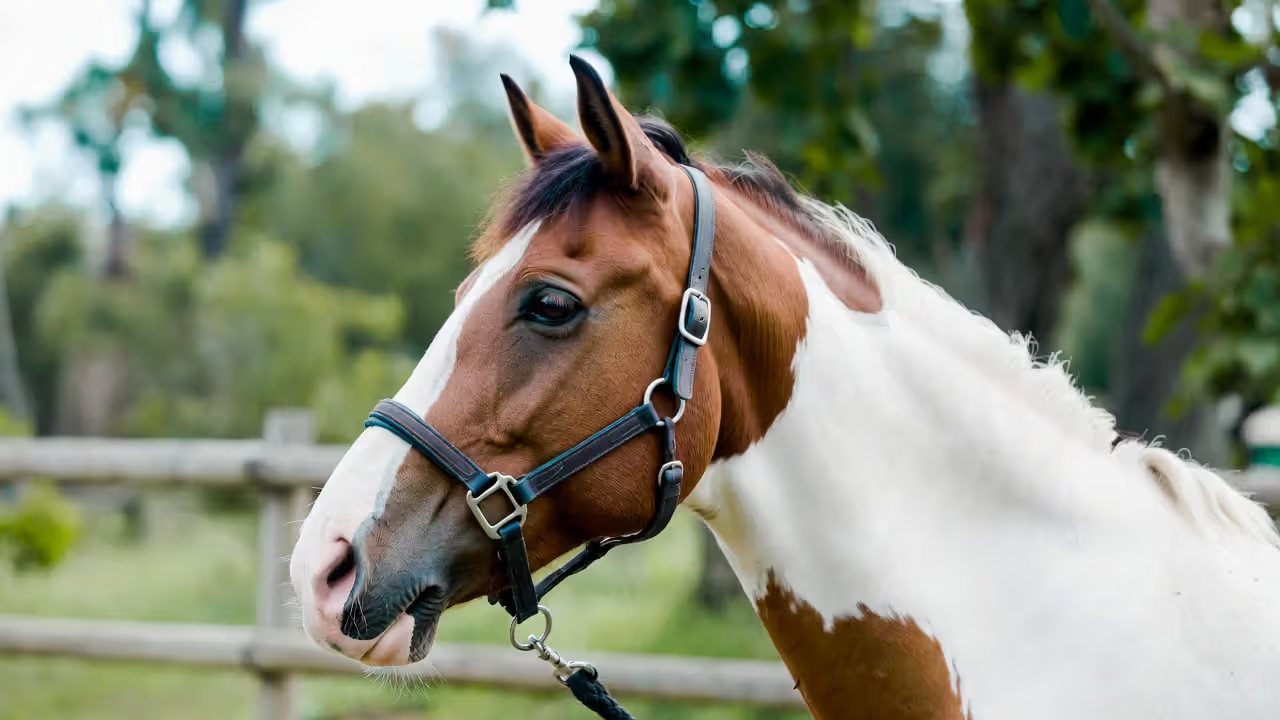
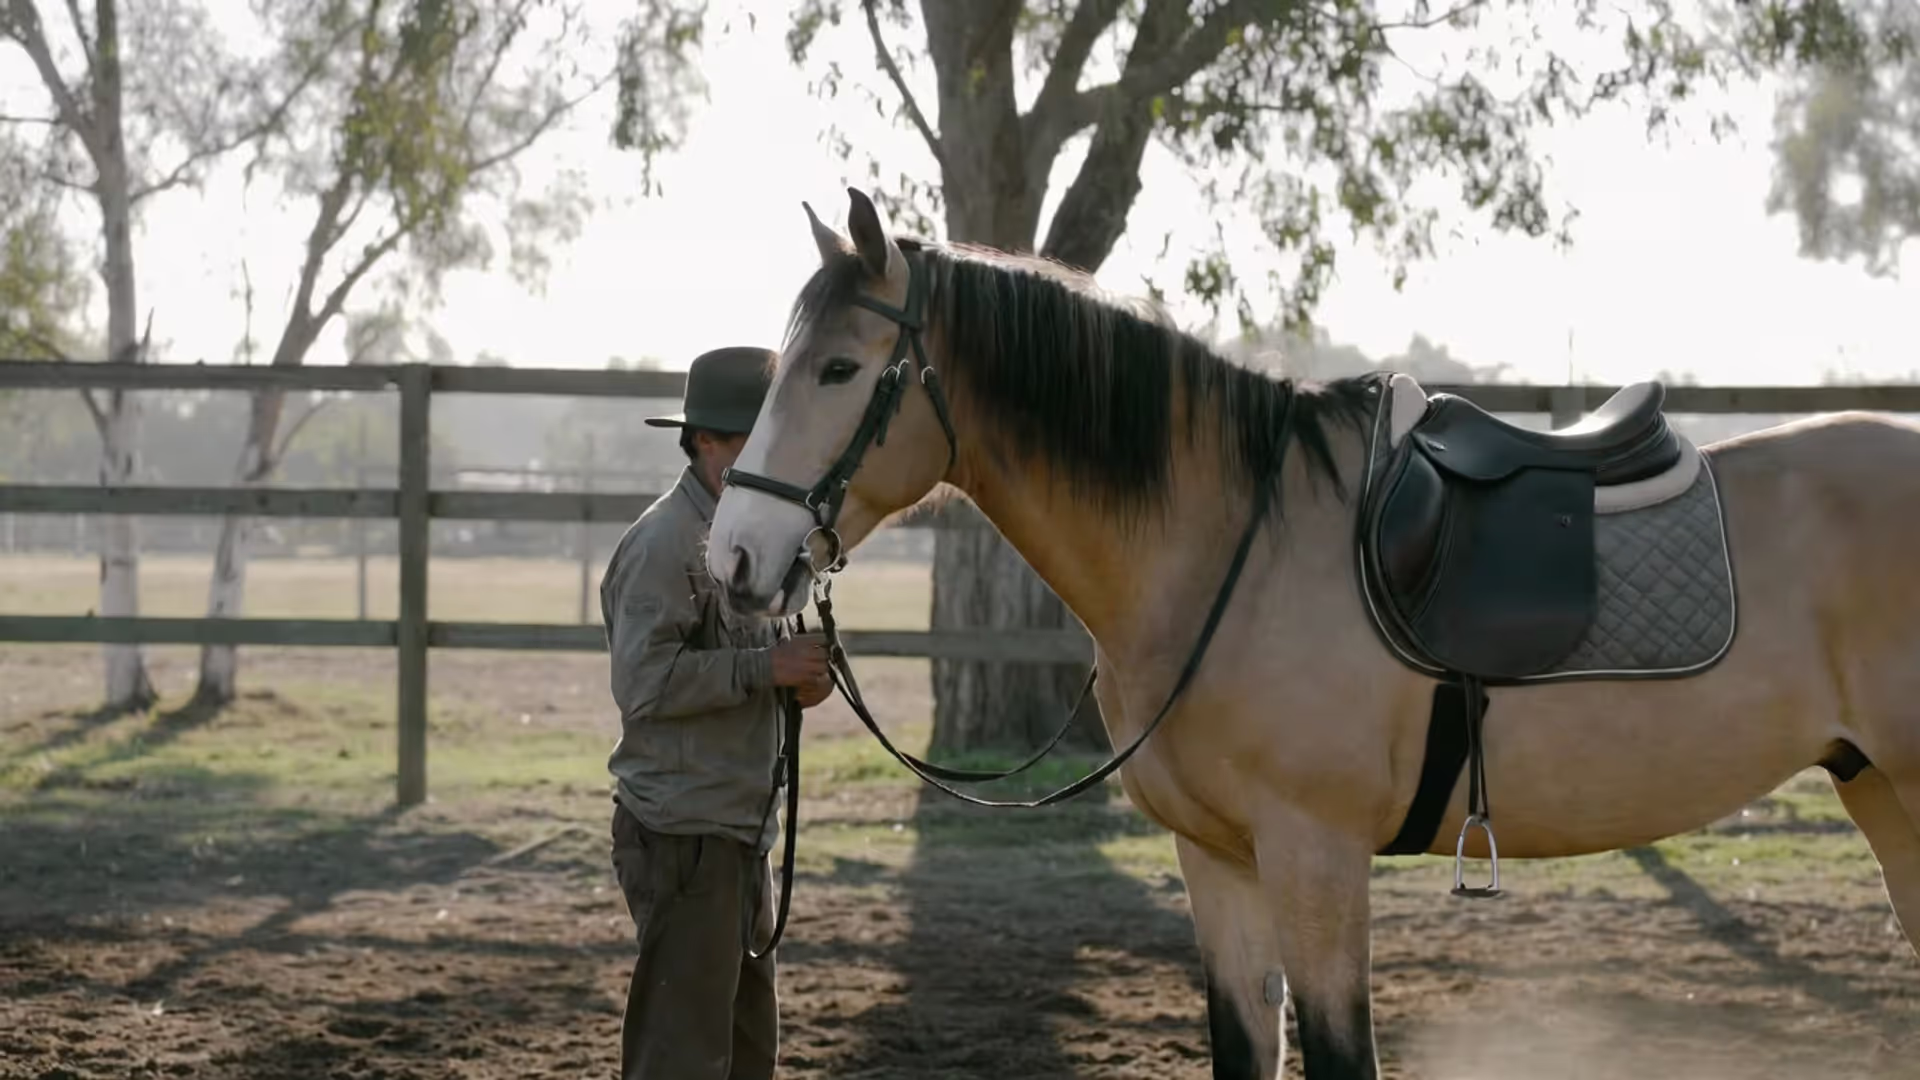
Halter fit makes or breaks this process. The noseband sits two fingers below the prominent cheekbone—measure it. The crownpiece rests behind the ears without rubbing. The throatlatch should fit three fingers comfortably. Too low and you're blocking airways. Too high and you're grinding bone against bone.
Get a lead line that's at least ten feet long. Twelve feet is better. Short leads force you into the horse's personal space, eliminating your reaction time when they spook. I prefer cotton leads for grip and gentleness, though they stretch when wet. Nylon won't give you rope burn but feels harsher. Skip chains completely during initial work—they send inconsistent signals and cause injuries.
Your training space needs three things: solid footing (not slick concrete or soupy mud), barriers that won't collapse (RIP my neighbor's wire fence), and minimal distractions. A 40-by-40-foot enclosure works beautifully. Big enough to prevent claustrophobia, small enough that you're not jogging laps until you collapse. Pull out water buckets, hay feeders, and companion animals before you start.
Wear boots with actual heels—never sneakers or flat-soled shoes. Get gloves (rope burns are no joke). Helmet up when working with adults capable of striking or rearing. Keep a folding knife accessible to cut the lead during emergencies, though you should never tie a horse solid during early training.
Affordable, adjustable sizing, padded versions available
Breaks away during panics, looks professional
The Downsides
Can cause pressure sores with sloppy technique
Muddy signals, encourages leaning
Needs regular conditioning, expensive to replace
Start with a basic adjustable nylon halter. It forgives mistakes. Once your horse gets pressure-release timing and you've sharpened your technique, upgrade to rope for precision groundwork.
Step-by-Step Process to Halter Train Your Horse
Author: Garrett Holloway;
Source: 3templatedesign.site
Don't show the halter yet. Seriously—put it down for now.
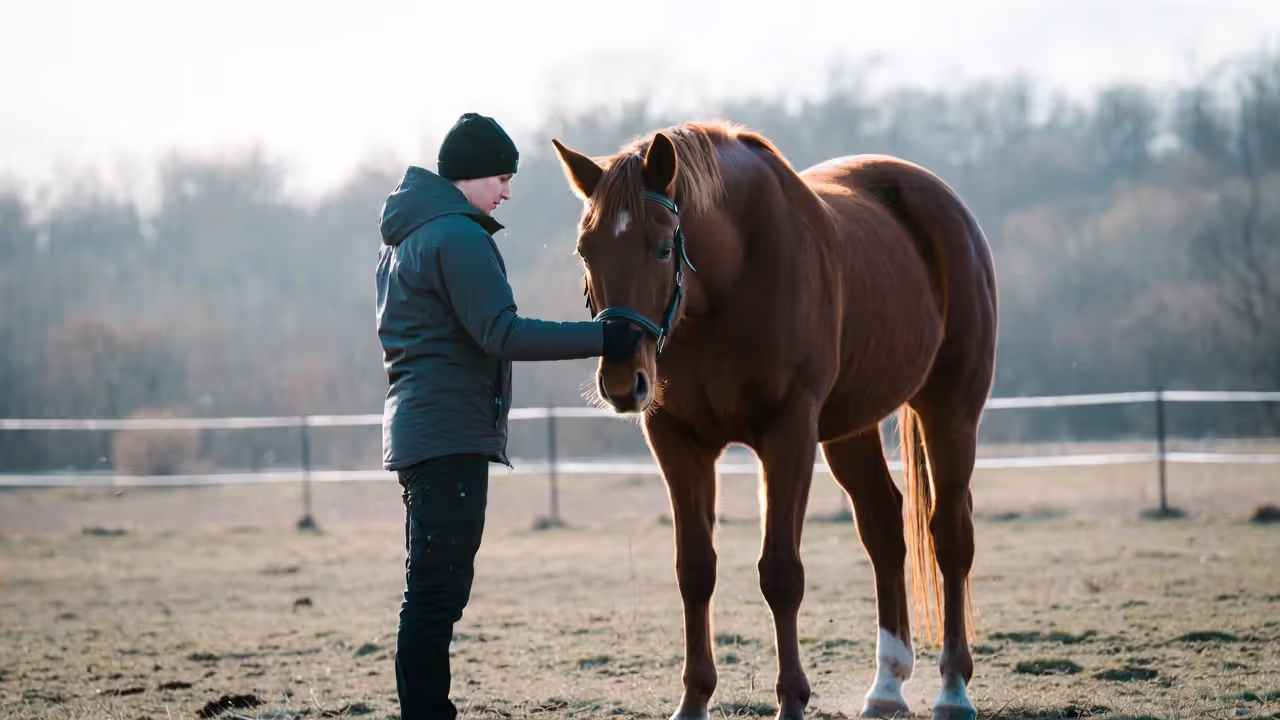
Spend your first several sessions just touching the horse. Neck, shoulder, withers. Work gradually toward the head—jawline, then cheek, then forehead. When the horse backs away, follow that movement while maintaining contact until they stop moving, then instantly remove your hand and step back. You're teaching: "Standing still makes the weird feeling stop."
After the horse accepts contact across their entire head, even around the ears where they're ticklish and defensive, then introduce the halter visually. Let them sniff it. Rub it along their neck and shoulder like you've been doing with your hand. Unfasten the crown piece completely so you can slide it on smoothly instead of fumbling with buckles near a nervous face.
First attempt goes like this: Position yourself near the left shoulder, facing the horse's head. Drape the lead across their neck (gentle control without being restrictive). Hold the halter open with your right hand, noseband ready, and guide it over the muzzle while your left hand brings the crownpiece behind the ears. Secure the fastening quickly but calmly—no frantic movements.
Plenty of horses freeze like statues when they first feel a halter. That's normal. Give them thirty seconds to process. No demands. If they stay calm, remove it. Cycle through this three or four times in session one until you see visible relaxation—maybe a sigh, maybe a head shake, maybe they start looking around instead of staring into the void.
Next session, leave it on for five minutes. Create distance (stay in the enclosure obviously) and let them explore. Head shaking? Face rubbing on their leg? Pawing? Totally normal adjustment behavior. You want them discovering the halter doesn't hurt and can't be removed by throwing a tantrum—it just exists.
Teaching Your Horse to Accept Pressure and Yield
Once your horse wears the halter without drama, introduce the concept of tension. Stand beside their shoulder, grasp the lead creating light tension—not a pull, just pressure—and wait. The horse will experiment. Lean backward. Toss their head. Maybe step sideways. The microsecond they shift toward you, even half an inch, release everything. Wait ten seconds. Repeat.
Most horses initially challenge pressure by leaning away. When this happens, hold steady tension (no jerking) but don't release until they concede. Could be three minutes of leaning. Could be thirty seconds. The instant they move forward or drop their head, release immediately. Your timing teaches the entire lesson.
Practice asking for a head drop. Create gentle downward tension on the lead. The horse will lift up, brace, maybe back up. Hold soft, consistent tension. When their head dips even slightly—we're talking two inches—release. Repeat until they'll lower their head to knee height on minimal pressure. This skill saves your bacon during bridling, vet exams, and calming stressed horses.
Never tie a horse solid until they consistently yield to tension. A panicking horse pulling against a fixed object can flip over backward, suffer spinal trauma, or develop phobias you'll never fully fix. Use what I call the "held rope" approach instead: maintain the rope yourself or loop it around a post so you can release during genuine panic, but hold firm when they're just testing boundaries.
Building Trust Through Consistent Groundwork Sessions
Here's the secret: three ten-minute sessions beat one hour-long marathon every single time. Horses learn through repetition and pattern recognition, not exhaustion. Same time each day when possible. Same location. Same sequence of requests.
End every session on a win, even if that means backing up to something they already know. Let's say your goal was ten steps forward but they're refusing to move. Ask for the head-lowering exercise they've mastered. Reward that. Finish there. You want them thinking "training equals success," not "training equals endless conflict."
Watch for processing signals: yawning, licking lips, shaking their head, looking away. These mean their brain is actively filing information. Pause thirty seconds when you see these. Pushing through them creates dull, resentful horses that tune you out.
The horse learning to consider pressure rather than flee from it transforms into a partner, not a captive. Halter training isn't about establishing dominance—it's developing a dialogue where both participants comprehend the vocabulary. Accelerate through this foundation and you'll invest years repairing the consequences.
— Mark Rashid, horse trainer and clinician
How to Teach Your Horse to Lead Properly Beside You
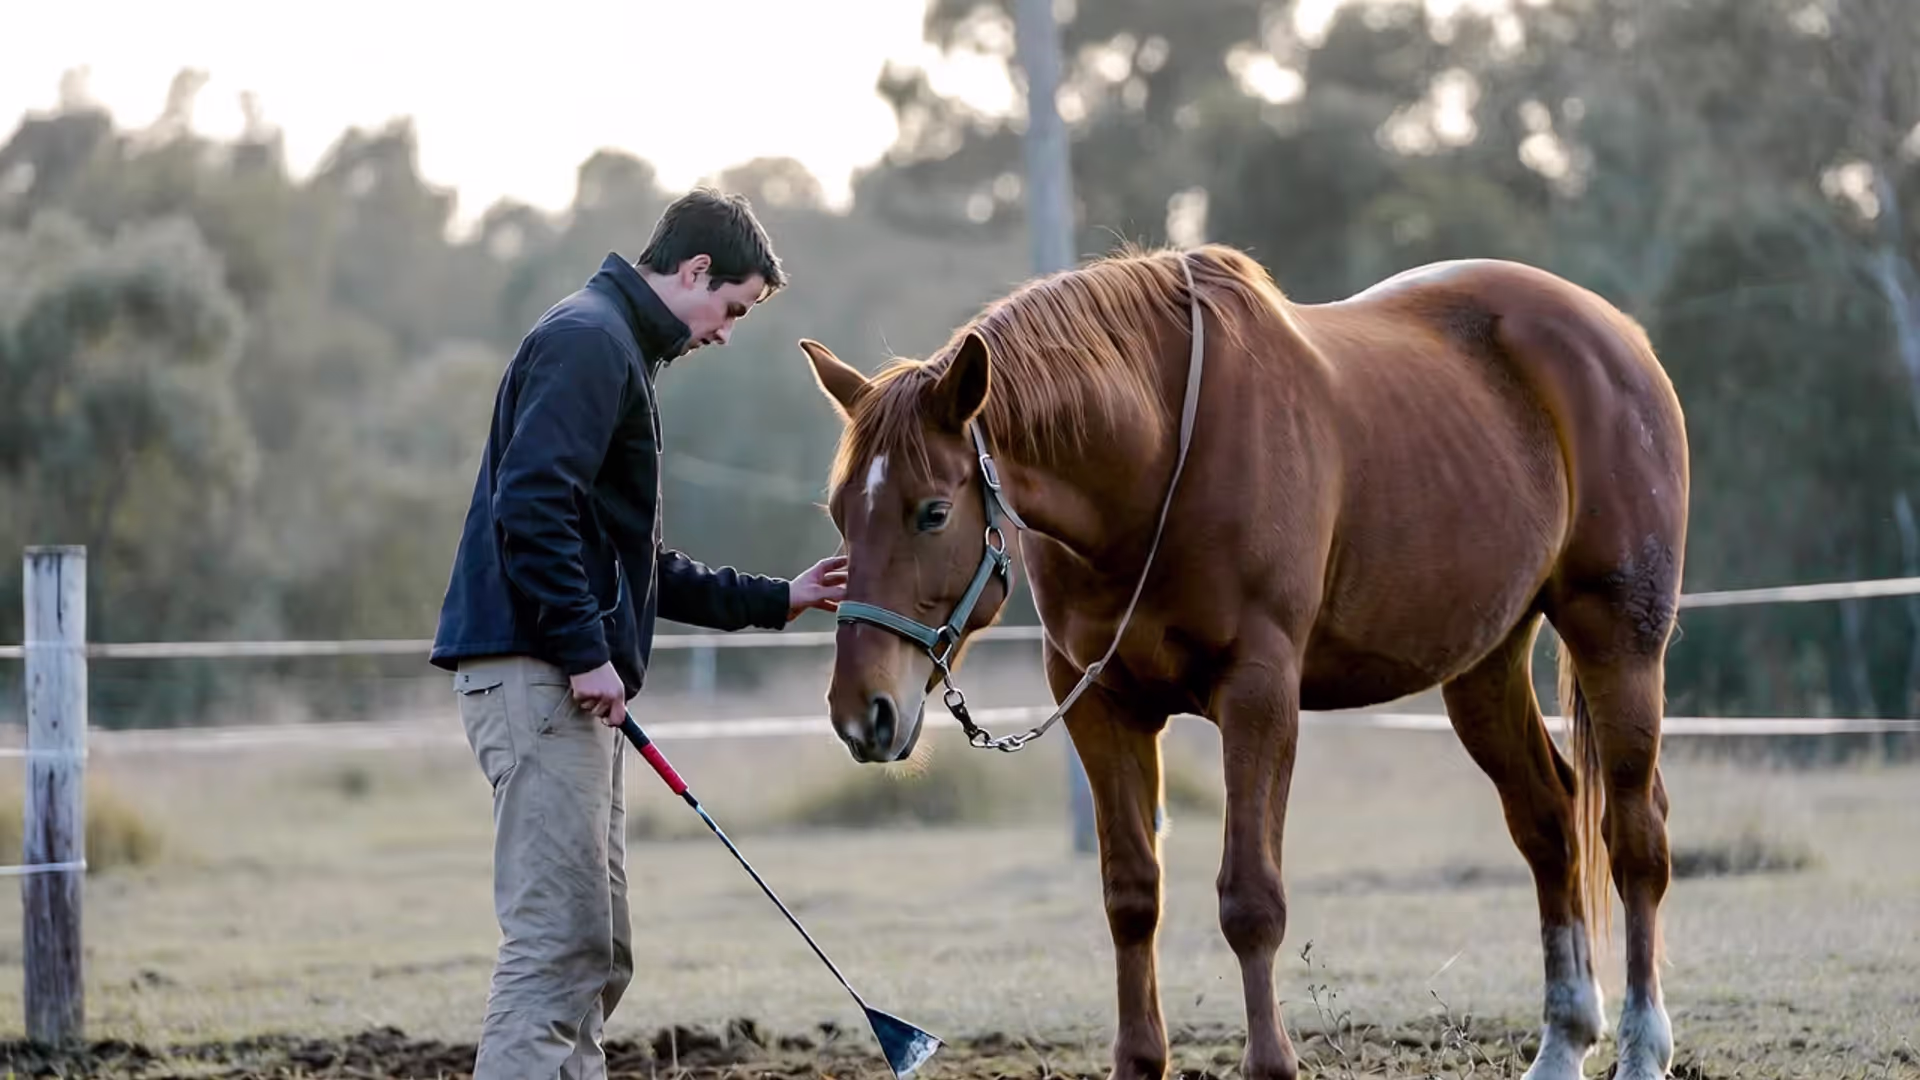
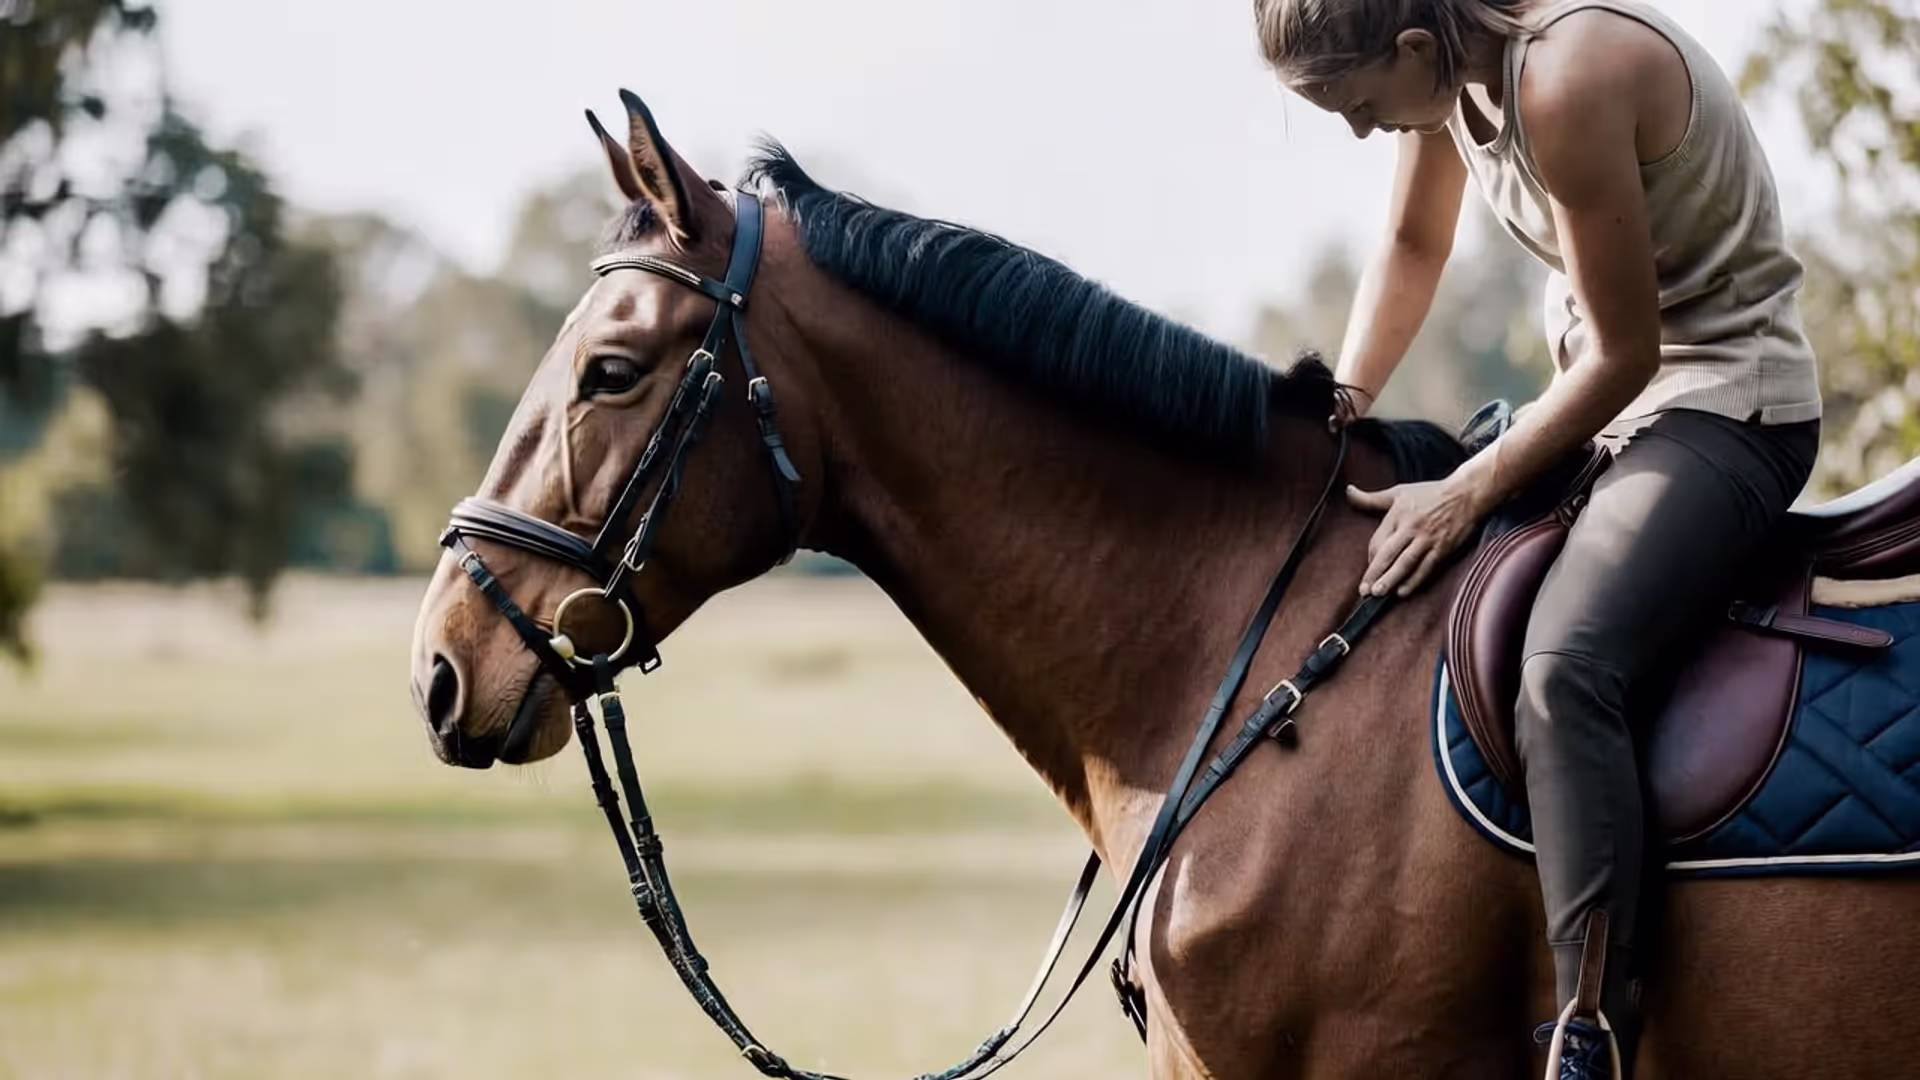
Leading position matters: their head should align with your shoulder. Not dragging behind, not charging ahead. Walk like you mean it—horses read energy and mirror it back. A hesitant handler gets a nervous horse. A confident (not aggressive) pace produces a calm follower.
Start by asking for one single forward step. Stand beside the left shoulder, face forward, hold the lead in your right hand about twelve inches from the halter with the excess coiled in your left. Say "walk," step forward yourself, and create light forward tension on the lead. The instant they step, release tension and halt. Reward with a scratch. Pause ten seconds. Repeat.
Build gradually: one step becomes two, then five, then ten. If they surge ahead, stop walking immediately and ask for a backward step with light rearward pressure. When they reverse even one step, release and resume forward. You're establishing: "Matching my pace feels good. Rushing triggers stopping."
Training a horse to walk beside you requires clear space boundaries. If they crowd into your bubble, bump the lead sideways sharply (never backward—that confuses the forward cue) while stepping toward their shoulder. They should shift their body away while continuing forward. Practice until they automatically maintain a two-foot buffer.
Stopping on cue prevents dangerous runaways. Every three or four steps, halt and say "whoa." If they keep going past you, create steady rearward tension until they stop, then release. Don't pull continuously—use rhythmic pressure-release pulses. Within a few sessions, they should halt when you halt, voice cue or not.
Turning teaches directional pressure. For right turns, create light tension on the right side of the halter while stepping toward their left shoulder. They should arc away from you. Mirror this for left turns. Practice both directions equally—horses develop handedness just like people.
Common Halter Training Mistakes and How to Avoid Them
Author: Garrett Holloway;
Source: 3templatedesign.site
Rushing the timeline destroys more training programs than anything else. A horse accepting a halter on Monday won't magically lead on Tuesday. Each skill—wearing equipment, yielding to tension, taking a step, walking ten feet, stopping on command—needs separate practice until it's automatic. Cramming everything into one week produces confused, resistant horses.
Inconsistent signals create confusion. If you say "walk" Monday and make clicking sounds Tuesday, your horse can't build associations. Pick your vocal cues, hand positions, and pressure patterns, then replicate them identically every single session. Horses learn through patterns. Randomness prevents learning.
Lousy release timing teaches the wrong lesson. If you hold tension for three seconds after the horse yields, they learn yielding doesn't work. Release must happen within one second of the correct response—ideally instantaneously. This demands total focus. Put your phone away.
Wrong equipment creates unnecessary problems. Oversized halters slip and rub. Undersized ones cause pain. Lead lines shorter than eight feet force you into their flight zone. Chain leads magnify every mistake, converting light pressure into painful jerks. Start with basic, properly fitted gear.
Training while frustrated damages trust permanently. The moment you notice rising anger—elevated heart rate, clenched jaw, racing thoughts—end the session. Ask for one simple behavior they know, reward it, and walk away. Horses detect human emotion with scary precision. Training while pissed off creates fearful horses that never fully trust you.
Troubleshooting: What to Do When Your Horse Resists or Pulls Back
A rearing horse signals something failed earlier in the process. Rearing is a desperate defense mechanism, meaning they either don't understand your request or feel cornered. Return to basics: Can they yield to light tension while standing still? If not, you skipped steps. Spend a full week on stationary pressure-release work before attempting leading again.
Pulling backward stems from restraint panic. The horse feels trapped and their flight instinct kicks in hard. Never tie a backward-puller solid—this causes flipping and catastrophic trauma. Instead, use the held-rope approach: loop the lead around a post and hold the end yourself. When they pull, maintain steady tension but prepare to release during genuine panic (throwing themselves down, white-rimmed eyes showing). The moment they move forward, release all tension. Repeat until forward movement becomes their default response to tension, not backward resistance.
A horse refusing to move forward either doesn't understand or is testing limits. Rule out confusion first: Do they understand the forward tension cue while stationary? Can they take one step on request? If yes, they're testing. Stand beside their shoulder, create steady forward tension, and wait. Don't increase pressure—maintain consistency. They'll eventually step to relieve the discomfort. The instant they do, release and praise enthusiastically. Repeat until they step forward within three seconds of cueing.
Head-tossing means discomfort or confusion. Check halter fit first—excessive tightness across the nose or behind the ears causes pain. If fit's good, they're probably frustrated by unclear communication. Simplify your requests: ask less, reward more. Head-tossing often appears when a horse is trying to comply but doesn't understand what you want. Slow down.
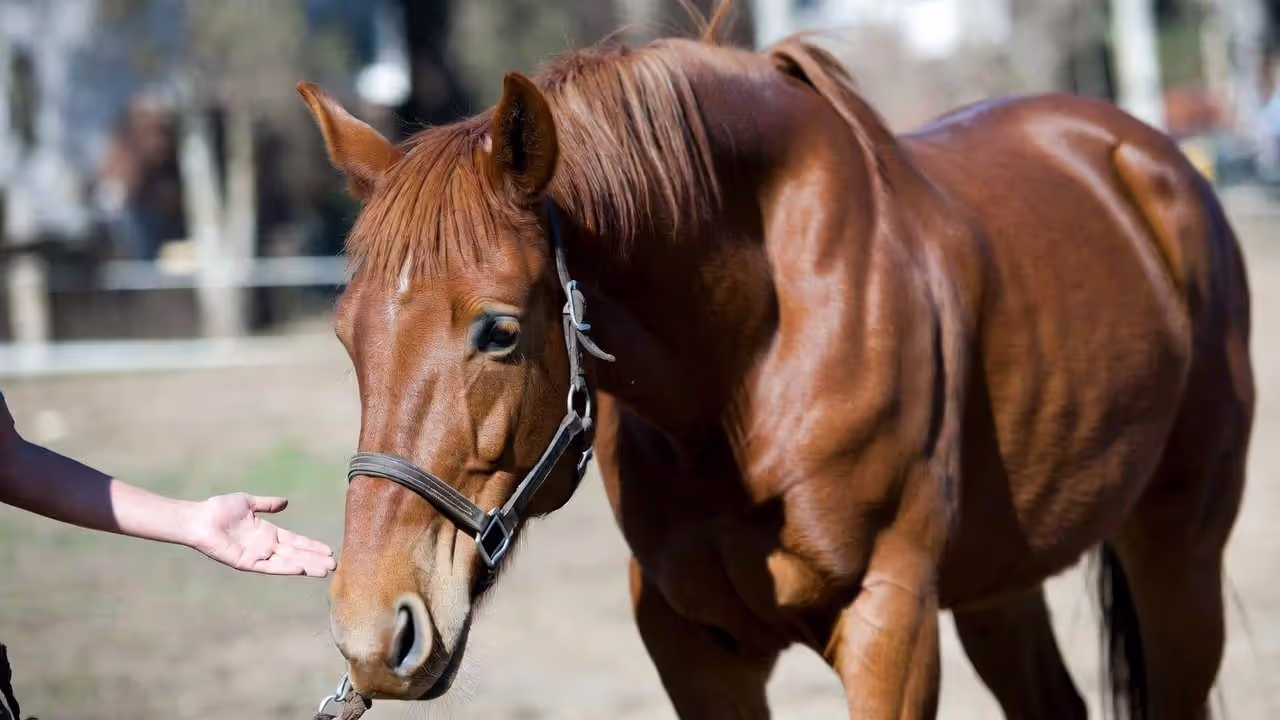
For horses that won't let you catch them initially, you've got a relationship problem, not a halter problem. Spend one week just existing in the enclosure—sit on a bucket, read a book, ignore them. Let them approach you. When they do, scratch their withers briefly, then walk away. You're proving: "Humans aren't predators." Once they consistently approach within five feet, you can begin desensitization work.
FAQ: Halter Training Questions Answered
How long does it take to halter train a horse?
A young foal getting daily attention typically accepts a halter and follows beside you within one week—sometimes faster. An unhandled adult horse needs four to eight weeks of methodical work to reach comparable skill levels. Variables that extend timelines include past negative experiences with humans, naturally anxious temperament, and inconsistent training schedules (weekends only versus daily work). Plan for 15-20 sessions minimum regardless of age. I've seen fast learners nail it in ten sessions and anxious horses need thirty.
Can you halter train an older horse that's never been handled?
Absolutely, though it takes longer and requires better facilities compared to foal training. Adult horses bring stronger flight responses but also better focus once they engage with the process. The critical factor is extensive desensitization work before equipment ever appears—expect to invest two to three weeks exclusively teaching them that human contact won't hurt them. Work inside a secure enclosure with reinforced fencing, never in open areas where they might flee and learn that escape works.
What's the best type of halter for a young horse just starting training?
A flat nylon halter with adjustable crown and noseband is perfect for beginners. It spreads tension broadly across the nose and poll, minimizing pressure sore risk from inexperienced handling and imperfect timing. Skip rope halters initially—they deliver sharper communication but concentrate tension on small areas that can cause discomfort with sloppy technique. Transition to rope halters after your horse reliably yields to tension and you've refined your release timing through practice.
Why does my horse pull back when I try to lead them?
Pulling backward stems from claustrophobia—they perceive the halter and lead as entrapment and their flight response activates. This behavior often develops when horses get tied solid before understanding yielding concepts. They panic, pull back, and either break free (learning resistance works) or experience pain that intensifies fear. Fix this by returning to stationary pressure-release exercises: practice yielding drills without any forward movement until their automatic response to tension is moving toward it, not away from it.
Halter training teaches more than equipment acceptance and leading skills. It establishes the communication framework you'll use throughout your horse's entire lifetime: tension means a question, yielding brings release, effort earns reward. A horse that truly understands this language becomes safer, calmer, and more cooperative in every subsequent training scenario.
Duration matters less than session quality. A horse requiring eight weeks to genuinely grasp tension and release will outperform a horse rushed through the sequence in five days, every single time. Watch your horse's feedback, refine your timing, and remember that every horse—like every human—absorbs information at their own pace. The foundation you build during these early groundwork sessions determines whether you'll spend the next twenty years with a willing partner or repeatedly fighting the same battles.
Master the art of saddling with this comprehensive guide covering equipment prep, proper placement techniques, and safety checks. Learn to avoid common mistakes that cause horse discomfort and discover how to identify poor saddle fit before it leads to injury.
Training a horse requires patience, consistency, and a clear understanding of equine behavior. This comprehensive guide walks you through practical ground training exercises, compares different training methods, provides a realistic 30-day timeline, and reveals common mistakes that derail progress.
Content on 3templatedesign.site is provided for general informational and educational purposes only. The information on this website may include topics related to horse care, feeding, grooming, horse breeds, training methods, riding techniques, and common horse health conditions.
This content is not intended to be veterinary, medical, training, or professional animal care advice. Horse ownership and riding involve responsibilities and potential risks for both riders and animals.
Users are responsible for evaluating their own experience, equipment, and the condition of their horse before applying any information from this website. Use of this website does not create any professional, veterinary, or advisory relationship with trialstribulations.net.
We are not responsible for any injuries, damages, or losses resulting from the use of information provided on this website. Horse owners and riders are encouraged to consult qualified veterinarians, trainers, or equine professionals when making decisions about horse care or training.